Your Photos Deserve Better Than a Drugstore Photo Book — Here Is What Professional Printing Actually Looks Like
I have watched wedding photographers hand their clients a photo book printed at a consumer lab, and I have watched the client open it next to one printed at a trade printer. The difference is the kind of thing that makes a photographer’s stomach drop in real time. The consumer book has a slight magenta cast across every skin tone. The pages curve upward at the gutter because the binding glue dried unevenly. The cover, which looked fine on the lab’s website preview, arrived with the couple’s faces split exactly across the spine — a composition mistake that no human being at that lab noticed because no human being at that lab ever saw a print of that book before boxing it.
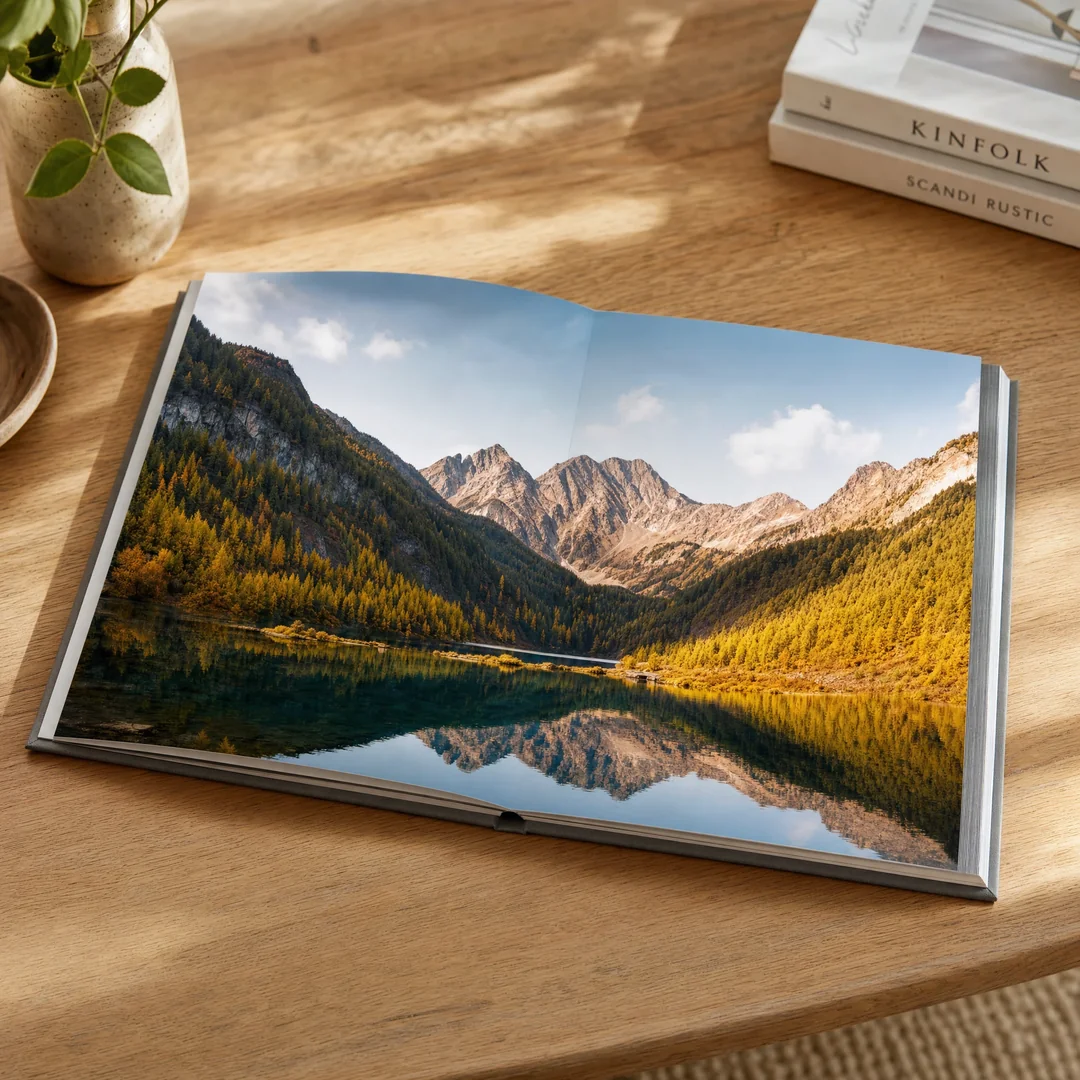
The trade-printed photo book from the same set of files opens flat at the center spread. The bride’s dress reads as white, not pink. The groom’s suit reads as black, not charcoal with a green tinge. The half-inch border the photographer built into the layout sits exactly where it was supposed to, because the trim tolerance was half a millimeter, not three. The photographer charged $600 for that album. The client paid it happily and told three friends, each of whom booked at the same rate. That is what professional photo book printing is worth: not the unit cost of paper and ink, but the referral cycle that a well-printed book starts and a badly printed book kills.
This guide covers every print specification a working photographer needs to make when ordering photo books for clients — paper stock decisions, ICC color profiling workflow, layflat binding mechanics, hardcover and linen cover options, and real print-run cost breakdowns at three quantity tiers. It is written for photographers who sell albums, not for hobbyists printing a single vacation book, though hobbyists who want pro results will find the same information applies. Every number in the cost section reflects mid-2026 pricing from Chinese export printers that manufacture photo books for wedding studios, portrait photographers, and fine art publishers worldwide.
Paper Stock for Photo Books
If you ask a printer “what paper should I use for a photo book,” most will say “150 GSM coated.” That answer is not wrong, but it is incomplete in exactly the way that produces a mediocre result. Paper for photo books is a three-variable decision: coating type, weight, and finish. Get any one wrong and the images suffer. Get all three right and the book feels like a gallery catalog, not an inkjet printout in hard covers.
Coated Gloss Paper: Maximum Saturation, Maximum Glare
Coated gloss paper — typically a C2S (coated two sides) sheet with a calendered, high-smoothness surface — produces the highest D-max (deepest blacks), the widest color gamut, and the sharpest fine detail of any photo book paper. Ink sits on top of the coating layer rather than absorbing into the paper fibers, so dot gain is minimal and highlight detail — clouds in a landscape, the catchlight in a subject’s eyes — stays crisp. For wedding albums with dramatic skies, fine art landscape books, and any image where deep shadow separation matters, coated gloss paper between 150 and 200 GSM is the correct specification.
The tradeoff is glare. Under direct light — a client flipping through the album next to a window, a gallery browser standing under track lighting — the glossy surface throws reflections that obscure image detail. Every photographer who has ever handed a gloss-paper album to a client has watched them tilt the book back and forth trying to find an angle where the overhead light stops reflecting into the photograph. For a deeper comparison of coated paper grades — C1S, C2S, gloss versus matte — our coated paper guide covers surface finishes, weight options, and the print-quality tradeoffs of each.
Matte Coated Paper: The Wedding Album Standard
Matte coated paper — still a coated sheet, but with a matte finish applied to the coating layer — is the wedding and portrait album industry standard for a reason. It delivers 90% to 95% of the color saturation of gloss paper with zero glare. Blacks do not hit quite the same D-max — a perceptible but not objectionable difference — but the viewing experience is better because the client is looking at the photographs, not at the reflections on the paper surface. For skin tones especially, matte coated paper is more flattering. Gloss paper can make pores and fine lines look sharper than they look in real life — an effect digital sharpening already amplifies. Matte paper softens the micro-contrast on skin just enough to flatter without losing detail.
Matte coated paper between 150 and 200 GSM is the conservative, correct choice for a photo book meant to be handled frequently. Thinner than 150 GSM and the pages feel flimsy — a photo book should have some heft. Thicker than 200 GSM and the book block becomes unwieldy at page counts above 40 spreads, and the binding has to work harder to keep the pages from pulling away from the spine. At 170 GSM, a 40-spread photo book on matte coated paper weighs about 1.4 kg — substantial without being heavy.
Uncoated and Textured Art Paper: For Fine Art Photo Books
Uncoated paper — often called “art paper” or “fine art paper” in photo book specifications — absorbs ink into the paper fibers rather than holding it on the surface. The result is lower contrast (shorter tonal range), softer detail, and a warm, tactile feel that coated paper cannot replicate. This is the paper choice for fine art photography monographs, black-and-white documentary work, and any project where the photographer wants the book to feel like an art object rather than a commercial product.
The tradeoff is significant and not always communicated honestly by printers. Color photos on uncoated paper lose roughly 15% to 20% of their saturation compared to the same image on coated paper. Bright blues go slightly muted. Red goes slightly brick. The photographer must adjust the image files to compensate — adding 5% to 10% saturation and 3% to 5% contrast in the soft-proofing stage — and even then, the result is different, not matching. Uncoated paper is a creative choice, not a quality upgrade. It is right for the artist who wants the book to feel like a letterpress print. It is wrong for the wedding photographer whose client wants the album to match the color in their online gallery. For a complete technical breakdown of paper types beyond coating, see our book printing paper selection section and printing cost breakdown.
Color Accuracy: ICC Profiling and Proofing for Photo Books
A photo book is the worst-case scenario for color management. The photographer edits on a calibrated monitor in a dark room. The printer runs an offset press on a factory floor under fluorescent light, using CMYK inks on a paper stock the photographer has never touched. Between those two environments sits a chain of color conversions, each one a potential failure point, and the only way to catch the failures is to prove the color before the full print run happens.
Soft Proofing: What You See on Your Screen vs What the Press Produces
Soft proofing is the first line of defense and the one most photographers skip. In Photoshop or Lightroom, you load the printer’s ICC profile for the specific paper and press combination you are printing on. The soft proof preview simulates — within the limitations of your monitor — what the colors will look like after the RGB-to-CMYK conversion and the paper’s absorption characteristics are applied. The preview shows you the out-of-gamut warning: the blue sky that clips to a flat cyan, the saturated red flower that turns muddy, the deep shadow that blocks up to solid black because the press cannot hold separation below 95% density.
The second a photographer sees the out-of-gamut warning on their carefully edited hero shot, the instinct is to panic. Do not. Out-of-gamut colors are normal on any CMYK press. The question is which colors are out of gamut and whether they matter. A wedding dress blowing out to 0% cyan and 0% magenta — pure paper white with no detail — matters. A barely saturated highlight in a background element going slightly less saturated does not matter. The soft proof tells you where to focus your adjustment energy. For a complete walkthrough of RGB to CMYK conversion and color space management, see our CMYK vs RGB guide .
Hard Proofs: The Non-Negotiable Step
A hard proof — a physical print produced on the actual press or a calibrated proofing device using the actual paper stock — is the only way to verify color before the production run. Soft proofs show you what the math says should happen. Hard proofs show you what actually happens. The difference between those two things is the margin between a satisfied client and a reprint.
There are two types of hard proof in photo book printing. A contract proof — typically an Epson or Canon inkjet proof run through a RIP calibrated to the press’s ICC profile — is color-accurate to the production result within a delta-E of 2 to 3, which is below the threshold of visible difference for most viewers. A contract proof costs $80 to $200 depending on the page count and is a standard line item in any professional photo book print order. A press proof — a small number of actual press sheets pulled from the production run before the full quantity is printed — is absolutely color-accurate because it is the production result. Press proofs cost $150 to $400 and add 3 to 7 days to the timeline because the press has to be set up, proof sheets pulled, approved, and then the production run continued.
For a first print run with a new printer, always order a contract proof at minimum. For a photo book that represents a significant investment — a 500-copy wedding album order for a studio’s entire client season, a fine art monograph destined for gallery sales — the press proof is cheap insurance against a reprint that costs 10 times as much.
ICC Profile Workflow in Practice
The photographer’s workflow looks like this: edit in Adobe RGB or ProPhoto RGB at 16-bit on a calibrated monitor (hardware-calibrated, not eyeballed). When the layout is complete, request the printer’s ICC profile for the specific paper and press. Soft-proof every image against that profile, adjusting out-of-gamut problem areas individually — do not apply a global saturation boost and call it done. Export the final files as TIFF in Adobe RGB (not sRGB, which discards the wider gamut data the press can actually reproduce). The printer handles the final CMYK conversion at the RIP stage because their RIP is calibrated to their specific press, ink set, and paper combination — a conversion done on your desktop in Photoshop using a generic profile will be less accurate than the conversion done on their RIP with their calibration data. For the full file preparation workflow from editing to press, see our print-ready file preparation guide .
Layflat Binding: Why It Matters for Photo Books
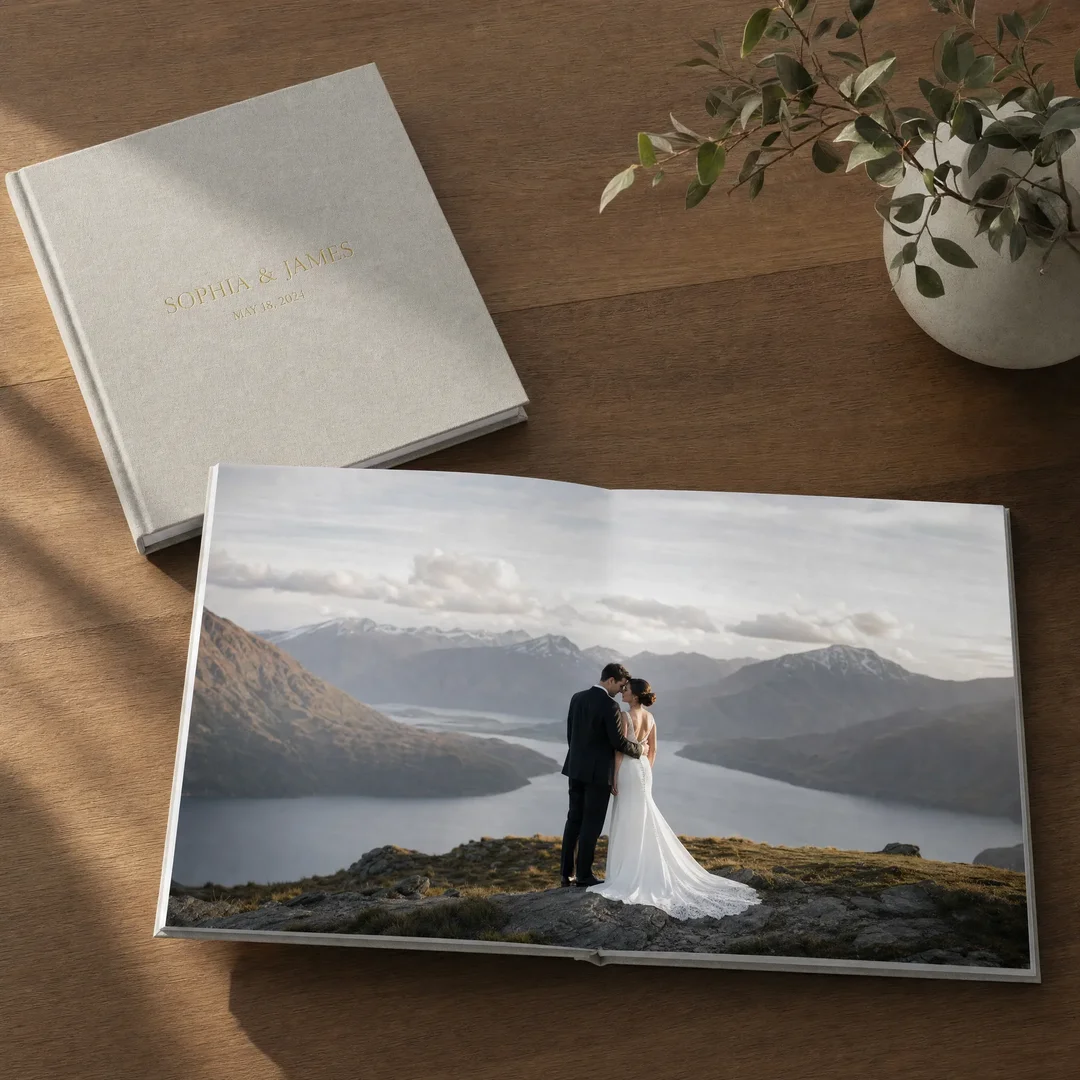
If there is one binding specification that separates a professional photo book from a consumer one, it is layflat binding. A layflat-bound book opens completely flat at every spread, with no gutter loss — the two facing pages form a single, uninterrupted image surface from the left edge to the right edge. Photographers who sell albums know this is non-negotiable. Photographers who have never specified binding are about to learn why their albums look like they were printed at Costco.
How Layflat Binding Works
Standard perfect binding — the glue-and-cover method used on trade paperbacks — cannot open flat. The pages are glued into a spine that acts as a hinge, and the inner margin of every page curves into the gutter. On a text page, this is fine — you lose maybe 3 to 5 mm of margin. On a full-spread photograph, the gutter swallows a vertical strip of the image down the center, and the two halves of the photograph slope away from each other at a slight angle. A couple standing at the center of a wedding portrait gets bisected by a glue line. A landscape spanning both pages has a visible seam through the middle.
Layflat binding solves this with a different book block construction. The pages are printed as double-width sheets — each sheet is a full spread, not a single page — then folded in half and mounted back-to-back onto a stiff substrate, typically 0.5 mm to 1.0 mm greyboard or rigid paper board. The mounted sheets are then bound edge-to-edge rather than gathered into signatures and glued at the spine. The result is a book block where every page opens completely flat because the hinge is at the fold of each individual sheet, not at a single glued spine. The center of a full-spread photograph is a seamless, uninterrupted image surface — no gutter, no curve, no glue line. Our book binding methods comparison covers the full range of binding options, including perfect binding, section-sewn, and wire-o alternatives for different project types.
The Cost of Layflat vs Standard Binding
Layflat binding costs more than standard perfect binding, and the premium is significant. At 500 copies of a 40-spread (80-page) 10×10-inch photo book, layflat binding adds roughly $2.50 to $4.00 per copy compared to standard perfect binding — partly because the page construction is more involved (mounting sheets to board substrate is slower than gathering and gluing signatures) and partly because the materials cost more (the board substrate is an extra material line item). At 1,000 copies, the layflat premium drops to $1.80 to $3.00 per copy. At 2,000 copies, $1.30 to $2.20 per copy.
Whether layflat is worth the premium depends on the book’s purpose and price point. For a wedding album sold at $400 to $800 retail, a $3 per-unit binding premium on a 50-copy order costs an extra $150 — roughly the profit on one additional album sale, easily absorbed. For a promotional lookbook printed at 2,000 copies and given away for free, layflat adds $2,600 to $4,400 to the print bill — a harder sell. The rule of thumb: if the photo book is a product you sell, layflat is standard. If the photo book is a marketing expense, perfect binding is sufficient.
Cover Options for Photo Books
The cover is the photo book’s first impression — literally, because in most cases the cover is the only part of the book the recipient sees before opening it. Photographers agonize over cover design, and they should. But design is half the decision. The other half is materials and construction, and those decisions affect durability, perceived value, and unit cost in ways that are not obvious until you hold two covers side by side.
Printed Hardcover with Dust Jacket
The printed hardcover with dust jacket is the default photo book cover for a reason: it gives you two printable surfaces (the casewrap and the jacket) for roughly the cost of one-and-a-half covers. The casewrap — the printed paper wrapped around the greyboard cover — is typically a simpler design: solid color, subtle texture, title on the spine. The dust jacket carries the hero photograph, the title, the photographer’s logo, and the back-cover text. It also protects the casewrap from handling wear. When the dust jacket gets scuffed or torn after five years of coffee-table handling, the book itself still looks clean underneath.
At 500 copies, a printed hardcover with matte-laminated dust jacket adds roughly $1.80 to $2.80 per copy over the base binding cost. The matte lamination on the jacket is mandatory — an unlaminated dust jacket tears at the edges within months — and accounts for $0.08 to $0.20 of that per-unit cost. For a more detailed comparison of lamination types and how they hold up under handling, see our lamination guide .
Linen or Cloth Cover with Foil Stamping
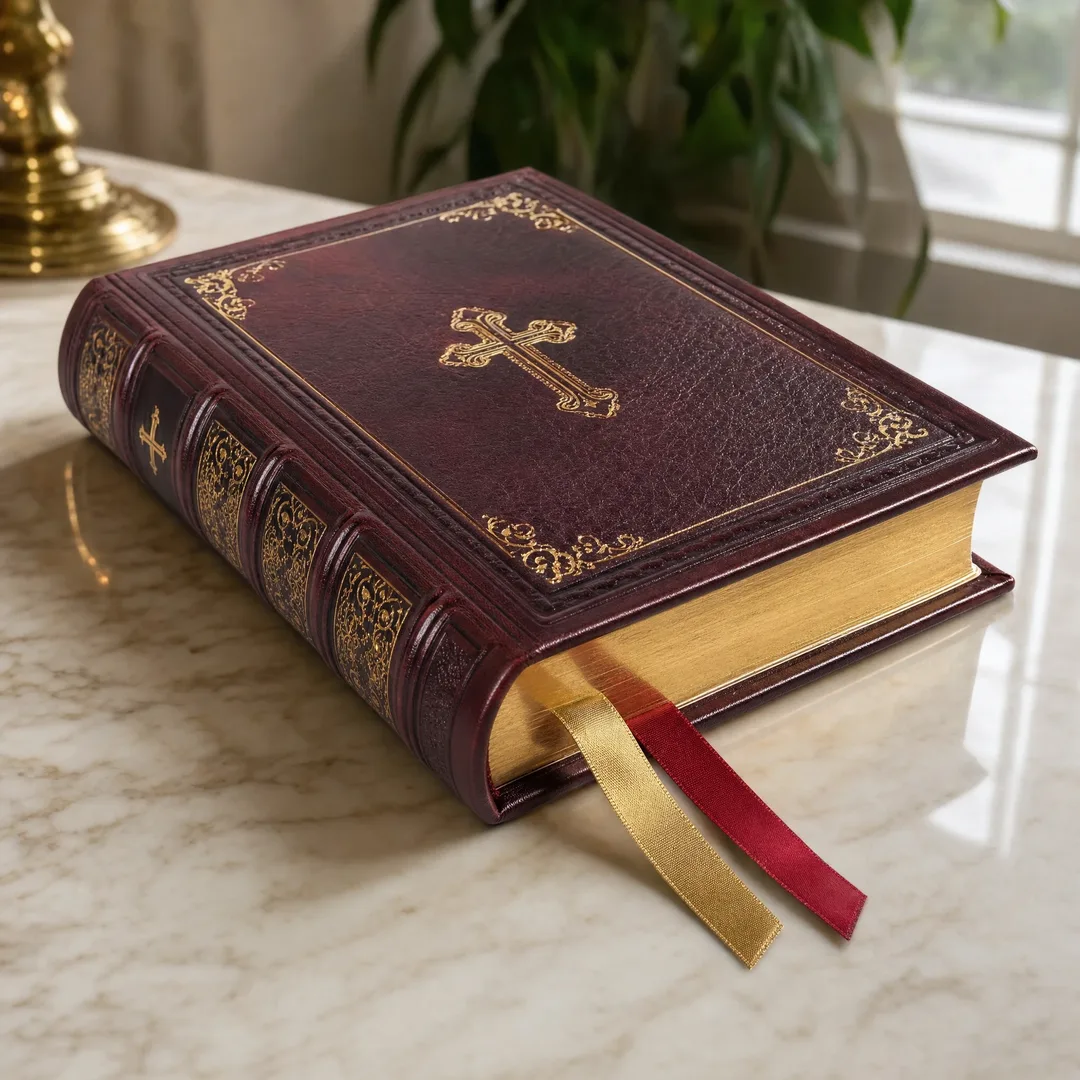
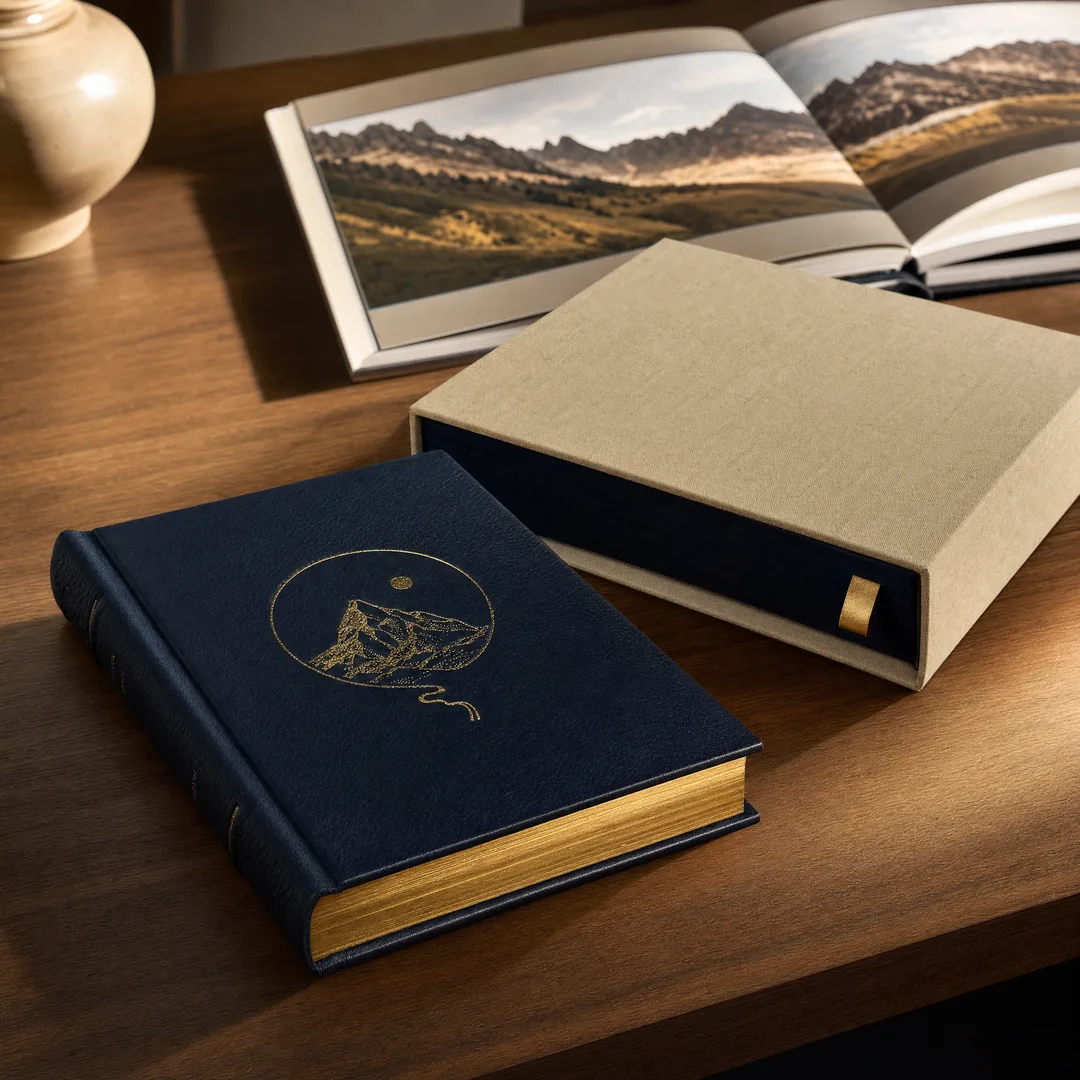
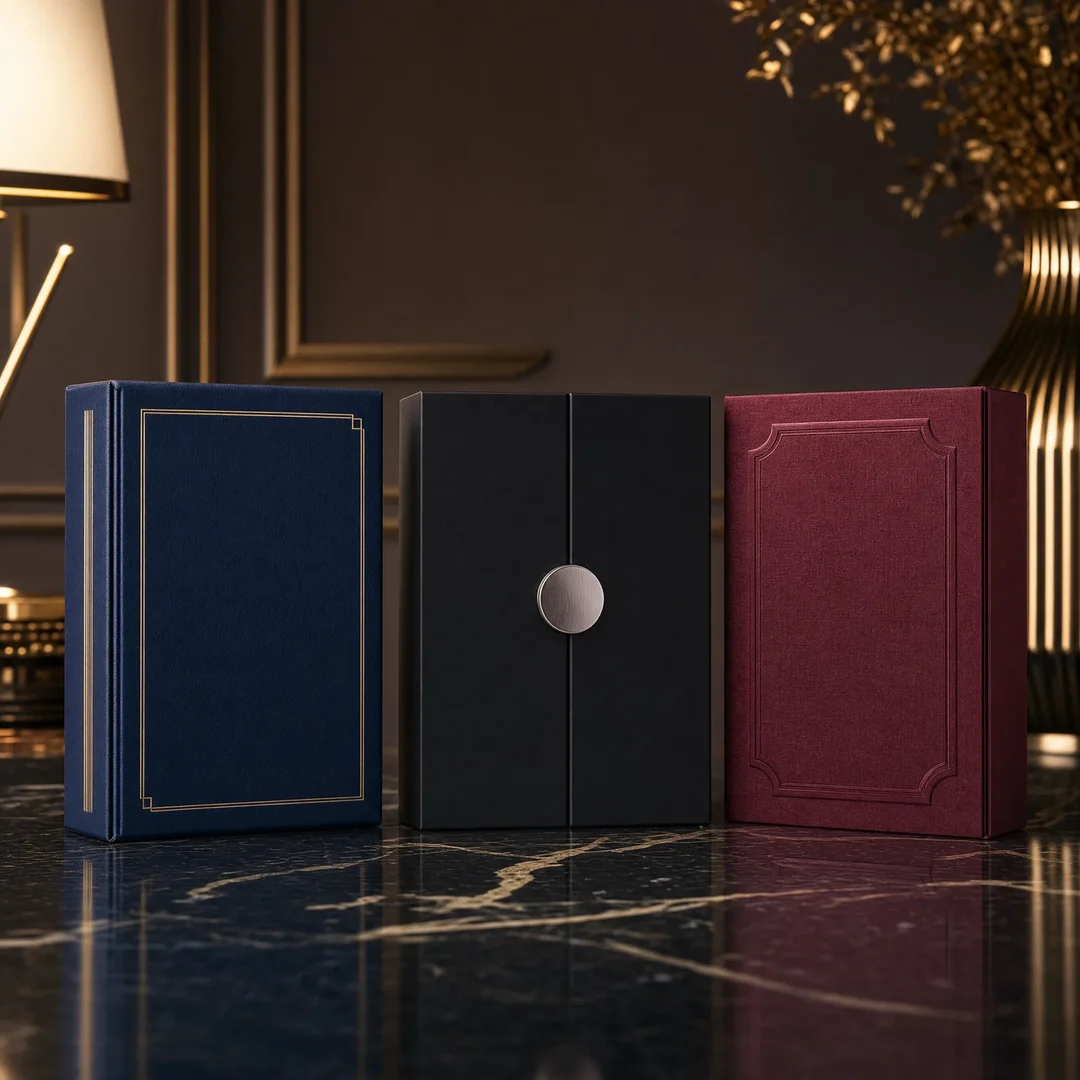
A linen or cloth hardcover with foil-stamped title is the cover that signals “heirloom” before the recipient reads a single page. The fabric — typically a woven rayon or cotton-blend book cloth in black, navy, grey, or natural linen — is wrapped over the greyboard case. The title and any spine text are applied via foil stamping, not ink printing. The result is a cover with zero printed graphics — no image, no CMYK, no gloss — and 100% tactile and material presence.
The linen cover premium over a printed casewrap is roughly $2.00 to $4.00 per copy at 500 copies, split between the cloth material cost ($1.00 to $2.00) and the foil stamping die and press time ($1.00 to $2.00 including amortized die cost). The linen cover also requires a dust jacket or a belly band for any cover imagery or back-cover text, because the cloth surface cannot be printed on — foil stamping handles text and simple graphic elements, not photographs. A linen cover with foil-stamped title and a printed dust jacket combining the best of both worlds — tactile premium at first touch, visual information when the jacket is on — is the high-end standard for wedding and fine art photo books. For foil stamping specifications, die types, and cost details, see our foil stamping guide .
Photo-Wrap Hardcover
The photo-wrap hardcover is the middle ground — a full-bleed photograph printed directly onto the casewrap, laminated for protection, with no dust jacket. It is less expensive than linen plus jacket (no cloth, no foil die, no separate jacket print run) and more visually striking than a plain printed casewrap under a jacket (the photograph covers the entire front, back, and spine in one continuous wrap). The photo-wrap cover is the standard choice for portrait albums, family photo books, and photography portfolios where the cover image sells the book without needing a dust jacket to carry secondary information.
At 500 copies, a photo-wrap hardcover with matte lamination costs roughly $1.20 to $2.00 per copy over the base binding cost — less than a dust jacket setup because there is only one printed surface to produce. For high-end presentation where the book itself is a gift object, see our luxury packaging guide for clamshell boxes and presentation cases that complement photo books.
Cost Breakdown: Photo Book Printing at 500, 1,000, and 2,000 Copies
The following cost estimates are for a standard specification: 10×10-inch (25.4×25.4 cm) square format, 40 spreads (80 pages), 170 GSM matte coated paper, layflat binding, printed hardcover with matte-laminated dust jacket. All prices in USD, mid-2026, from Chinese export printers. Actual quotes will vary by printer, paper supplier, and exchange rate at time of order.
Quantity
Unit Printing Cost
Total Printing
Estimated Shipping (LCL, DDP to US West Coast)
Total Landed Cost
Landed Cost Per Unit
500 copies
$12.50–16.00
$6,250–8,000
$600–900 (≈1.5–2.0 CBM)
$6,850–8,900
$13.70–17.80
1,000 copies
$9.00–12.00
$9,000–12,000
$800–1,200 (≈2.5–3.5 CBM)
$9,800–13,200
$9.80–13.20
2,000 copies
$7.00–9.50
$14,000–19,000
$1,200–1,800 (≈5.0–6.5 CBM)
$15,200–20,800
$7.60–10.40
What drives the unit cost down at higher quantities: The fixed costs — plate making ($200–400 per color, four colors = $800–1,600 per title), press setup (2–4 hours of makeready at $200–400/hour), binding setup (die preparation, glue calibration), and proofing — spread across the full print run. At 500 copies, fixed costs represent roughly 25% to 35% of the unit price. At 2,000 copies, they drop to 8% to 12%. The paper and ink — the variable costs — scale roughly linearly with quantity, so the savings come almost entirely from the fixed-cost dilution.
Cover upgrades and their per-unit impact: Switching from a printed hardcover with dust jacket to a linen cover with foil-stamped title adds $2.00 to $4.00 per copy at 500 units. Adding edge gilding to the book block (gold or silver metallic foil on all three page edges) adds $0.80 to $1.50 per copy at 500 units, $0.50 to $1.00 at 1,000. A clamshell presentation box — a separate rigid box that houses the photo book — adds $3.00 to $6.00 per unit depending on materials and complexity. For the full printing cost framework including paper, binding, finishing, and shipping cost interactions across all print run sizes, see our book printing cost guide .
Upgrading paper stock: Moving from standard 170 GSM matte coated to 200 GSM matte coated adds roughly $0.80 to $1.50 per copy because the paper is both thicker (more material cost) and the book block is heavier (higher shipping cost). Moving to a textured fine art uncoated paper — Mohawk Superfine, Fedrigoni Arena, or comparable Chinese-manufactured art papers — adds $1.50 to $3.00 per copy because the paper itself is 2 to 4 times the cost of standard coated stock from Chinese mills.
Common Questions About Photo Book Printing
What is the minimum order quantity for photo book printing?
Most Chinese export printers that produce layflat photo books set their minimum order at 100 to 300 copies, though this varies by printer and specification. Below 100 copies, the fixed costs — plate making, press setup, and binding setup — dominate the unit price to the point where digital printing (short-run toner-based, not offset) becomes more cost-effective. Digital-printed photo books at quantities under 100 copies typically cost $18 to $30 per unit for a 10×10-inch layflat book, versus $14 to $18 at 500 offset copies. The crossover point where offset becomes cheaper than digital is typically between 150 and 250 copies, depending on the specific printer’s plate costs and press setup fees. If you need fewer than 100 copies, ask the printer about their digital short-run option rather than forcing an offset quote that will be priced punitively. For a detailed breakdown of how quantity thresholds affect every cost component, see our MOQ guide .
How long does photo book printing take from order to delivery?
Production time — from approved proof to finished books ready for shipping — is typically 15 to 25 business days for a photo book with layflat binding at quantities of 500 to 1,000 copies. The binding is the bottleneck: mounting double-width sheets to board substrate is slower than gathering and gluing signatures, and the adhesive curing time between sheet mounting and trimming is fixed and cannot be compressed. Add 5 to 7 business days for hard proof production and approval before the production clock starts. Add 25 to 35 days for ocean freight (LCL, DDP) from the factory in China to a US address. Total timeline from file submission to books-in-hand: approximately 45 to 65 days. Air freight cuts the shipping leg to 5 to 10 days but at 3 to 5 times the cost. For photographers planning around wedding season or a launch date, working backward from the delivery deadline by at least 60 days is the safe schedule.
Can I mix different images or layouts within the same print run?
Offset printing requires every copy in a print run to be identical — the plates print the same pages for every copy. If you need each photo book to contain different images (personalized wedding albums, different client galleries), offset printing cannot do that. Your options are: (1) print the binding and cover via offset at a quantity of 500 or more (cheaper per unit at scale), then print the interior pages via digital printing where each copy can be unique (higher per-page cost but variable), or (2) print the entire run via digital short-run printing, which handles variable data natively. Some printers offer hybrid workflows — offset covers plus digital interiors — specifically for wedding and portrait photographers who need 100 to 300 albums per season, each with different images but identical trim size, page count, and cover design. Ask the printer about “versioned interiors” or “hybrid offset-digital photo books” when requesting a quote.
What file format should I submit for photo book printing?
Submit press-ready PDF files with embedded Adobe RGB (not sRGB) image data, 300 DPI at final trim size, with 3 mm bleed on all sides and all fonts outlined or embedded. Single-page PDFs are preferred by most printers; some accept spreads (two facing pages as a single PDF page) for layflat books, but confirm with the printer before submitting spread files. Do not include crop marks or registration marks — the printer’s imposition software adds those automatically. Do not convert to CMYK yourself unless the printer specifically requests it and supplies their press-specific ICC profile for the conversion. A CMYK conversion done on your desktop using a generic profile will produce worse color accuracy than the conversion done on the printer’s RIP with their calibration data. For the complete pre-press file preparation checklist, see our print-ready artwork preparation guide .