Why More Manga Creators Are Printing Their Books in China — And Getting Better Results Than They Expected
If you have ever held a professionally printed manga volume — the kind with crisp line art, a soft matte cover, and pages that turn without resistance — you know the difference between a real book and something that feels like a desktop print job. That difference matters. It is the gap between a reader who flips through at a convention table and one who buys, takes home, and tells their friends.
For independent manga artists, doujin circles, and small publishers, getting that level of quality at an affordable price used to mean choosing between two imperfect options: pay premium rates at a local printer and barely break even, or compromise on materials and hope readers do not notice. Neither feels great.
This guide walks you through the entire manga printing process — trim sizes, paper grades, binding methods, file preparation, cost structures, and logistics — with a focus on why a growing number of creators are turning to China-based manufacturing. Not because it is the cheapest option, but because the quality-to-cost ratio has quietly become the best in the industry.
Manga Trim Sizes — Getting the Format Right Before Anything Else
Trim size is the first decision you make, and it ripples through everything: page layout, paper usage, binding options, and even shipping weight. Manga follows a different set of conventions than Western comics, and readers notice when those conventions are ignored.
B6 — The Gold Standard for Tankōbon
The B6 format (128 × 182 mm, or roughly 5″ × 7.5″ in English-language editions) is what most readers picture when they think of a manga volume. It is compact enough to hold in one hand on a train, thick enough to feel substantial at 180–220 pages, and instantly recognizable on a bookstore shelf. Major publishers — Viz Media, Kodansha USA, Yen Press — all use B6 or its near-equivalent digest size. If you are printing a serialized manga collection, this is the format your readers expect.
A5 — The Doujinshi Favorite
A5 (148 × 210 mm, or 5.8″ × 8.3″) is the default for Japanese self-published works. It gives you roughly 40% more page area than B6, which means more room for detailed panel layouts and larger text. It is also slightly cheaper to print per page because A-series paper is more widely available in standard sheet sizes. For doujinshi creators heading to Comiket or similar events, A5 is the format that feels familiar to the audience.
Custom Sizes for Special Editions
Not every project fits neatly into B6 or A5. Some creators opt for 6″ × 9″ for omnibus collections, 7″ × 10″ for art-heavy editions, or even square formats for experimental layouts. Chinese printers generally offer flexible trim options with minimal additional setup cost — something that can be prohibitively expensive with domestic printers that run standardized sheet configurations.
Paper Selection — The Foundation of Manga Printing Quality
Paper is not just a substrate. It determines how ink sits on the page, how much show-through you get on the reverse side, how the book feels in a reader’s hands, and — critically — how closely your printed volume resembles a Japanese bookstore edition. Get the paper wrong, and even perfect artwork looks amateurish.
Uncoated Offset Paper for B&W Interiors
Black-and-white manga belongs on uncoated paper. The porous surface absorbs ink in a way that produces the soft, slightly textured look readers have been conditioned to associate with authentic manga. Coated paper, by contrast, makes B&W line art look sharp to the point of feeling clinical — it is the difference between reading a novel and reading a photocopy.
The most common interior paper weights for manga fall between 80 gsm and 120 gsm. At 80 gsm, you get a lightweight, highly portable book with a page count that feels satisfyingly thick. At 100–120 gsm, you trade some portability for significantly reduced show-through — important if your artwork uses dense screentones or heavy ink coverage on dark scenes. For context, most commercial Japanese tankōbon use paper in the 80–100 gsm range.
Cream vs. White — Choosing the Right Tone
This is one of those decisions that seems minor until you hold two samples side by side. White offset paper reproduces contrast more accurately and makes screentones pop. Cream (off-white) paper is easier on the eyes during long reading sessions and carries a warmer, more traditional feel — it is the paper tone most readers subconsciously associate with imported Japanese volumes. Neither is objectively better; the right choice depends on your art style. High-contrast action manga tends to benefit from white stock, while atmospheric, dialogue-heavy stories often feel more natural on cream.
Cover Stock and Coating Options
Manga covers are typically printed on 250–300 gsm coated paper — either C1S (coated one side) for paperback or wrapped over board for hardcover. A matte lamination is the standard finish: it resists fingerprints, reduces glare, and gives the cover a tactile quality that feels expensive without being flashy. Gloss lamination works well for full-color art covers with vivid palettes, though it shows wear more visibly over time. Soft-touch lamination and spot UV are available for creators who want a premium look, but for most indie manga, matte lamination on 300 gsm coated stock hits the sweet spot between quality and cost.
Binding Methods — What Holds Your Manga Together
Binding is where manufacturing quality becomes tactile. A poorly bound manga cracks at the spine, sheds pages, or refuses to stay open. A well-bound one feels solid, lays reasonably flat, and survives multiple readings — which, for a good manga, could be dozens.
Perfect Binding — The Industry Workhorse
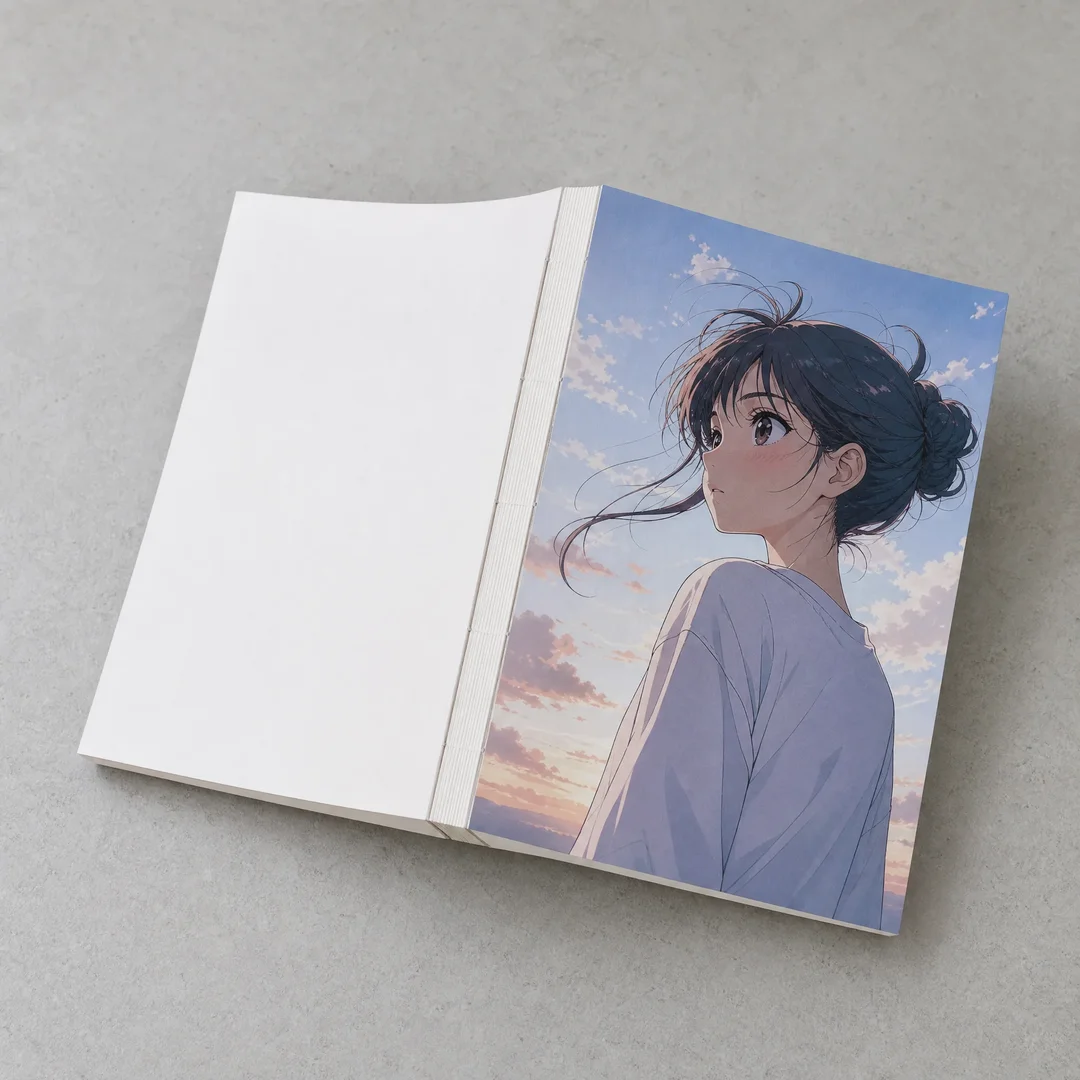
Perfect binding (PUR glue) is the default for manga volumes above roughly 48 pages. Pages are gathered into a block, the spine edge is roughened, and hot-melt adhesive bonds them to a wraparound cover. The result is a clean, flat spine that can carry printed title text — important for retail display. PUR adhesive, specifically, offers superior flexibility and temperature resistance compared to standard EVA glue. If your manga will be shipped internationally or stored in varying climates, insist on PUR perfect binding. The spine will hold up far better over time.
Saddle Stitch — Small-Batch and Convention-Ready
For doujinshi, one-shot chapters, convention previews, or short story collections under roughly 64 pages, saddle stitch (two or three staples through the center fold) is the practical choice. It is inexpensive, fast to produce, and lays completely flat when open. The limitation is page count — beyond 64 pages, the book develops an awkward bulge at the spine and no longer sits flat. Also worth remembering: page counts must be multiples of 4 for saddle stitch, since each folded sheet creates 4 pages. A 36-page doujinshi works. A 37-page one needs adjustment.
Hardcover and Premium Options
Hardcover manga — case-bound with sewn signatures — is the deluxe tier. It is what you choose for omnibus collections, limited-run collector’s editions, or Kickstarter reward tiers. The cost is higher, and the minimum order quantity tends to be stricter, but the perceived value jumps significantly. Readers who buy hardcover manga are collectors; they expect headbands, ribbon markers, and dust jackets as part of the package. Chinese binderies that regularly produce Smyth-sewn hardcovers for the international market can deliver these details at a fraction of what domestic binderies charge for the same specification.
Print Quality — What “Japanese Manufacturing Standards” Actually Means
Japanese manga printing has a reputation for precision that is well-earned. But the specifications behind that reputation — ink density, registration tolerance, trimming accuracy — are technical benchmarks, not cultural secrets. A well-equipped Chinese printing facility running modern Heidelberg or Komori offset presses, calibrated to ISO 12647-2 or G7 standards, can hit the same numbers. Here is what to look for.
Ink Density and Screen Tone Reproduction
Manga artwork depends heavily on halftone screens — the dot patterns that create gray tones in B&W art. If ink density is inconsistent across a print run, those screen tones shift visibly from page to page, creating a patchy, unprofessional look. A quality printer maintains ink density within a tight tolerance across the entire run. For B&W manga, the optimal screen frequency (LPI) falls between 60 and 80 for offset printing. Digital printing — which some providers use for short runs — can introduce moiré patterns at higher screen frequencies, so if your art uses fine screentones, offset is the safer choice.
Registration Precision
Registration refers to how precisely different color plates align on the page. In B&W manga interiors, registration is rarely an issue. But on full-color covers and color insert pages, poor registration shows up as color fringing at the edges of objects — a subtle flaw that readers may not consciously notice but will unconsciously register as “cheap.” Professional printers targeting the manga market maintain registration within 0.05 mm tolerance. Ask your printer about their registration spec before committing.
Trimming and Finishing Accuracy
Every manga page has a trim line, a bleed area, and a safe zone. If the trim is off by even a millimeter, panel borders shift, text creeps toward the edge, and the overall presentation suffers. The best Chinese export printers use automated three-knife trimmers that hold tolerances within ±0.5 mm. Combined with proper bleed setup on your files (more on that below), this produces edges as clean as any Japanese-printed volume.
Small-Batch Manga Printing — MOQ and Doujinshi-Specific Needs
Not every manga creator needs 2,000 copies. In fact, most do not. The indie manga market runs on small runs: 50 copies for a convention, 200 for a Kickstarter, 300 for a first print that tests demand before committing to a larger batch. Understanding minimum order quantities — and how to work within them — is essential.
What Is the Minimum Order Quantity?
MOQ varies by printer and production method. Digital printing can go as low as a single copy, but the per-unit cost is high and the quality ceiling is lower — digital presses struggle with the fine halftone reproduction that manga art demands. Offset printing, which delivers the best quality, traditionally starts at 500 copies with many printers. However, a growing number of China-based manufacturers now accept offset runs as low as 50–100 copies for manga-specific projects. The setup cost (plate making, press calibration) gets amortized over fewer units, so the per-unit price is higher at 100 copies than at 1,000 — but it is still typically 40–60% below what a domestic offset printer would charge for the same run.
Doujinshi-Specific Considerations
Doujinshi creators have needs that mass-market manga publishers do not think about. Turnaround time for a Comiket deadline, for example: you cannot miss it. Special formats like B5 or A4 for art books. Cover variants for limited editions. The ability to do a test print of 10–20 copies before committing to a full run. Some Chinese printers have developed dedicated doujinshi service lines that understand these requirements — including right-to-left binding, Japanese-standard color inserts (kuchi-e), and dust jackets with inside-printing for hidden cover art. If a printer has never heard of kuchi-e or does not understand why you would bind a book right-to-left, you are talking to the wrong supplier.
Cost Breakdown — What Manga Printing Actually Costs
Let us talk real numbers — not exact quotes, because those depend on your specific specifications, but ballpark figures that let you plan realistically.
For a typical B6 tankōbon — 200 pages, B&W interior on 100 gsm uncoated offset, full-color cover on 300 gsm C1S with matte lamination, PUR perfect binding — here is roughly how the unit cost scales with quantity from a China-based printer:
At 100 copies, expect to pay around $4.50–$7.00 per book. At 250 copies, that drops to $3.00–$5.20 per book. At 500 copies, you are looking at $3.20–$5.00 per book. At 1,000 copies, $2.60–$4.20 per book. These numbers include printing, binding, and lamination — but not shipping, which we will cover separately.
For comparison, the same specification from a US-based offset printer typically runs 60–100% higher at every quantity tier. From a Japanese printer, you can expect to pay 80–120% more. The cost difference is not about lower quality — it is about lower labor costs, lower material costs in the Chinese paper market, and the sheer concentration of printing infrastructure in manufacturing hubs like Shenzhen and Shanghai.
A saddle-stitched A5 doujinshi of 40 pages, B&W interior with color cover, comes in significantly lower: roughly $1.80–$2.50 per copy at 100 units, and under $2.00 at 500 units.
Preparing Your Files for Manga Printing
The best printer in the world cannot fix bad files. Getting your artwork print-ready before submission prevents delays, extra costs, and disappointing results. Here is what you need to know.
Resolution and Color Mode
For B&W manga interior pages: 600 DPI minimum, 1200 DPI recommended. This is higher than what most illustrators are used to for web or screen output, but it is necessary for clean line art and screen tone reproduction at print size. Export your B&W pages in grayscale mode (not RGB, not CMYK) using TIFF format with LZW compression for the best quality-to-file-size ratio. For color covers and insert pages: 300 DPI minimum in CMYK color mode. Converting from RGB to CMYK will shift your colors — especially bright blues and greens — so do the conversion yourself and adjust rather than letting the printer’s automated workflow handle it.
Bleed, Trim, and Safe Zone
Every manga page needs three zones. The trim line is where the page will be cut. The bleed area extends 3 mm beyond the trim on all sides — this is where background art and panel edges that run to the page edge should extend, so that slight cutting variations do not leave white slivers. The safe zone sits 5 mm inside the trim line — keep all important content (dialogue, character faces, panel borders) within this area. Anything outside the safe zone risks being cut off or lost in the binding gutter. For right-to-left manga, pay extra attention to the inner margin on the right side, which will partially disappear into the spine.
Right-to-Left Page Order
If your manga reads right-to-left — and most authentic manga does — your interior PDF must be assembled accordingly. Page 1 of the PDF should be the last page a Western reader would expect. A good prepress team will verify your page order before production, but do not rely on them to catch every mistake. Print a physical mockup at home, staple it together, and read through it. Then send the corrected file. The extra hour you spend on this step saves you from opening a box of 300 mis-ordered books.
Logistics — Shipping, Customs, and Lead Times
Printing in China means your books need to get from the factory floor to your doorstep — or to your convention booth, or to your fulfillment center. This part of the process is not complicated, but it does require planning.
Production lead time for a standard manga print run (100–500 copies) typically runs 10–15 business days once files are approved. Rush production can cut that to 5–7 business days for an upcharge. After production, shipping method determines the rest of the timeline. Air freight takes 5–10 days and costs more — budget roughly $1.50–$3.00 per book for a typical B6 volume. Ocean freight takes 25–40 days but costs significantly less — often $0.30–$0.60 per book at quantity. Express courier (DHL, FedEx, UPS) lands in 3–5 days but is rarely economical for book shipments unless you are ordering very small quantities.
Customs duties on printed books are zero-rated in many countries, including the US and most of the EU, under specific harmonized tariff codes. Check your local regulations, but for most manga creators importing from China, the customs process is straightforward and duty-free for printed matter. Your printer or freight forwarder should provide the correct HS code on shipping documents.
China vs. Japan Printing — Why the Value Equation Has Shifted
Japanese manga printing set the standard. No serious conversation about manga production ignores that. But the question for indie creators is not “who has the most prestigious printing heritage” — it is “who can deliver that level of quality at a price that makes my project viable.”
Here is what has changed in the last decade. Japanese printers still produce excellent work, but their cost structure is tied to a high-cost domestic economy. Labor, real estate, energy, and raw materials all cost more in Japan than in China, and those costs flow directly into print quotes. Meanwhile, China’s export-oriented printing sector — concentrated in Shenzhen, Guangzhou, Shanghai, and Ningbo — has invested heavily in the same Heidelberg and Komori offset presses used by top Japanese printers. The operators are trained to the same ISO and G7 standards. The paper is sourced from the same global mills (or high-quality domestic alternatives). The bindery equipment is equivalent.
The result is a product that matches Japanese quality benchmarks — ink density, registration, trimming, binding durability — at 40–60% lower cost. For a creator printing 200 copies of a tankōbon, that is the difference between breaking even at 2 retail and actually earning money at 0 retail.
Is it the right choice for every project? No. If you need 10 copies for a local event and want them next week, a local digital printer is your answer. If you are producing a prestige art book where budget is secondary and you want “Printed in Japan” as a selling point, Japanese manufacturing makes sense. But for the vast middle — indie manga creators, doujin circles, small publishers trying to build a sustainable catalog — China-based manga printing offers a genuine competitive advantage. The quality is there. The cost is right. The only thing missing is the outdated assumption that good printing has to be expensive.