What Is Perfect Binding? A Straightforward Introduction
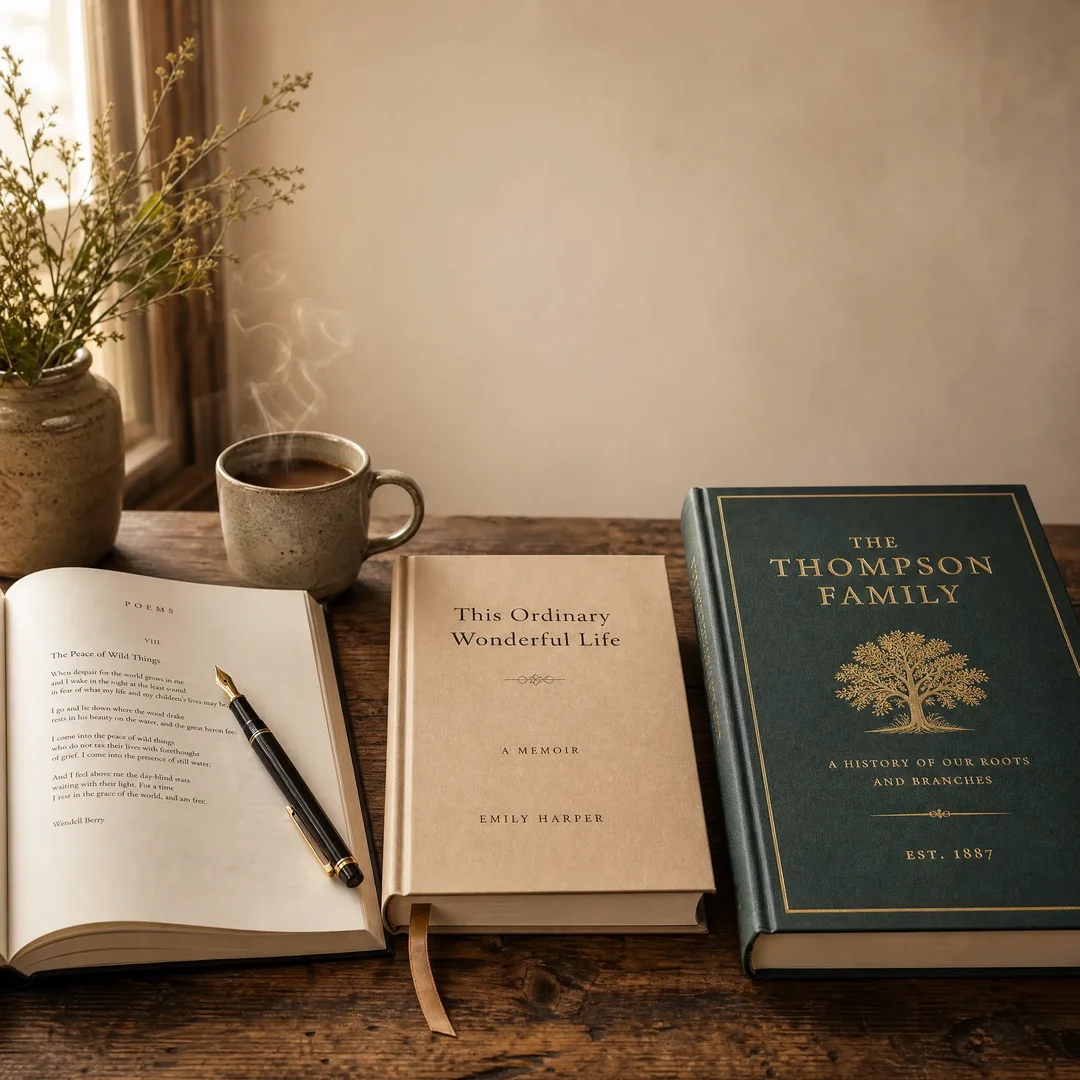
If you have ever picked up a paperback novel, a corporate annual report, or a thick product catalog, chances are you have held a perfect bound book in your hands. Perfect binding is the most widely used softcover book binding method in commercial printing today. It is the go-to technique for trade paperbacks, magazines, manuals, and photo books that need to look professional without the cost of a hardcover case.
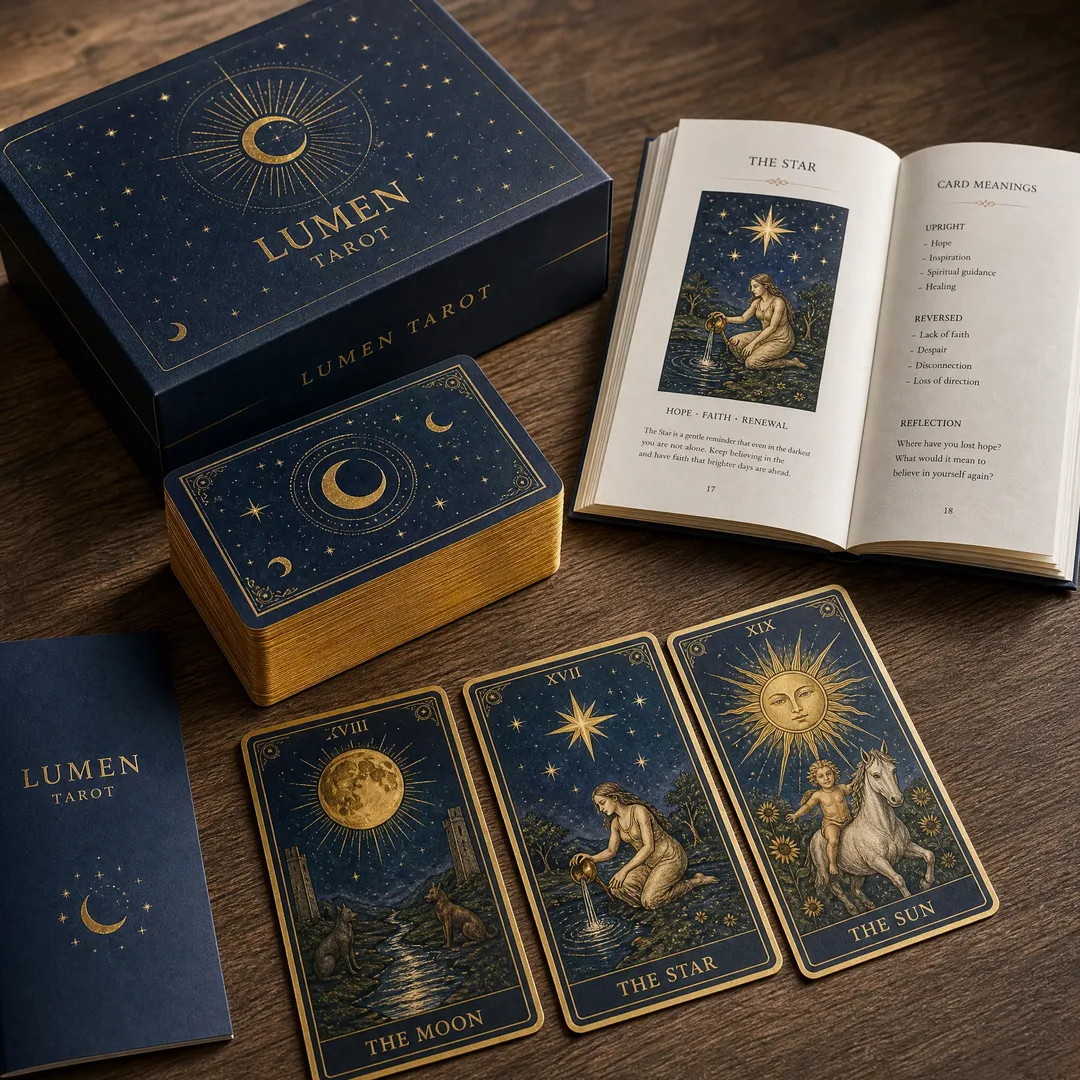
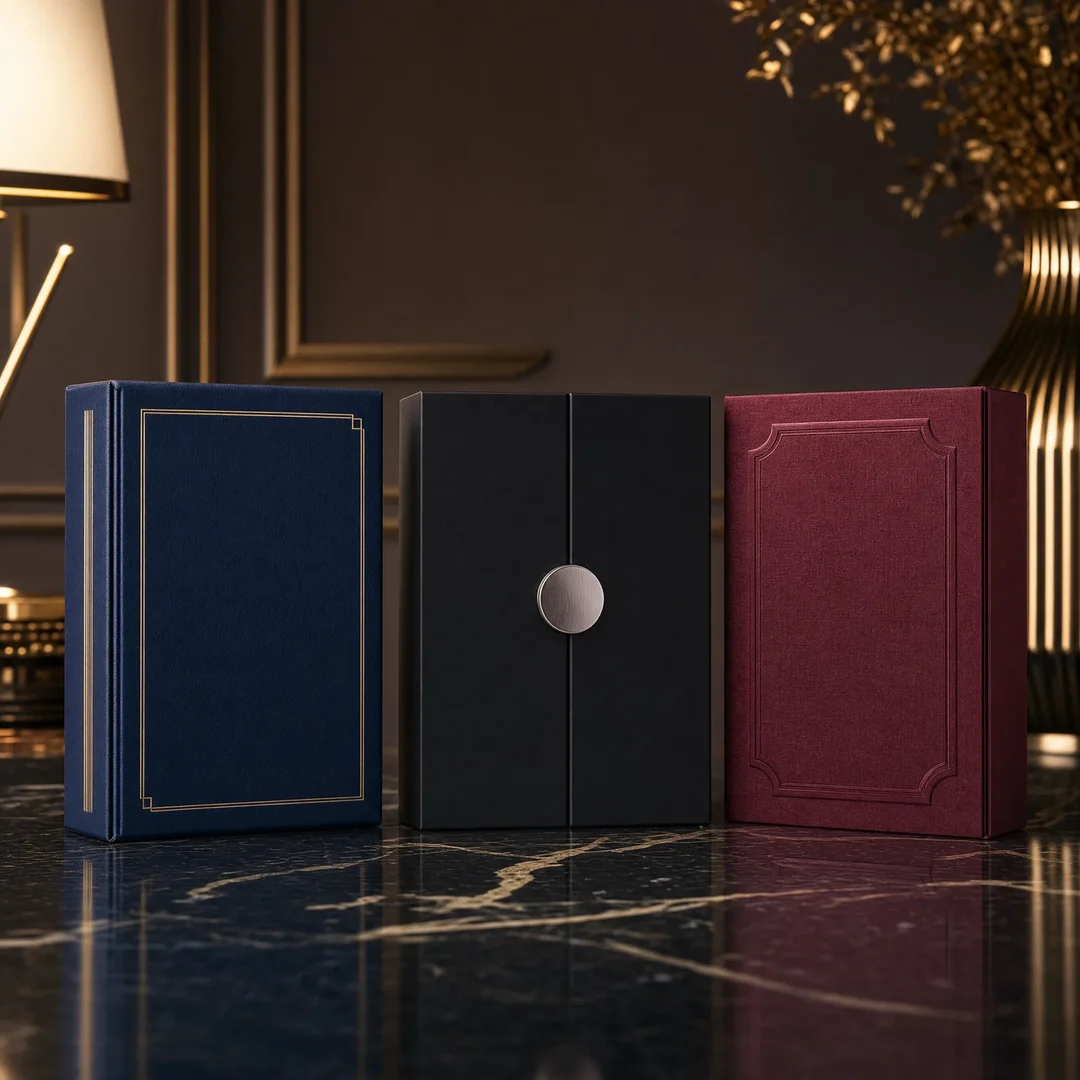
At its simplest, perfect binding uses a strong adhesive to secure the trimmed edges of the interior pages (the book block) inside a wraparound cover made from heavier cardstock. The result is a clean, square-edged book with a flat spine. That flat spine is a big selling point — it gives you a printable surface where you can display the title, author name, and publisher logo, making the book easy to identify on a shelf.
The name “perfect binding” comes from the fact that the book’s three non-spine edges are trimmed together after binding, producing perfectly flush, crisp edges. It is a manufacturing term that stuck, and it has nothing to do with whether the binding itself is flawless. In different parts of the world, you may hear it called softcover binding, adhesive binding, or glue binding. Regardless of the name, the core process is the same: pages are gathered, the spine edge is roughened, hot-melt adhesive is applied, and the cover is wrapped and pressed into place.
At EcoPrinting, we produce thousands of perfect bound books every month for self-publishers, businesses, and creative agencies. Over the years, we have learned that the difference between an average perfect bound book and an outstanding one comes down to a handful of decisions — paper choice, adhesive type, spine planning, and cover design. This guide walks through all of them.
Why Choose Perfect Binding? The Advantages That Matter
Perfect binding did not become the industry standard for softcover books by accident. It hits a sweet spot that few other binding methods can match. Let us unpack each benefit so you can decide whether it is right for your project.
A Professional, Bookshelf-Ready Appearance
Walk into any bookstore and scan the paperback shelves. Almost every title you see is perfect bound. The square spine and cleanly trimmed edges signal “real book” to readers. Compare that to saddle-stitched booklets, which look like pamphlets, or spiral-bound documents, which look like office printouts. Perfect binding gives your content instant credibility. It is the binding equivalent of wearing a tailored suit to a meeting.
The printable spine is a feature worth underlining. With a spine width of as little as 3 mm, you can print text legibly on the spine. That means your book remains identifiable when stored spine-out on a shelf. For multi-volume works, series, or branded publications, a visible spine with consistent design is essential for brand presence.
Surprising Durability for a Glue-Based Method
People sometimes assume that glue-bound books are fragile. That reputation comes from cheap mass-market paperbacks that start shedding pages after one summer in a hot car. The reality is that a properly manufactured perfect bound book, using modern PUR adhesive, can outlast its owner. Page pull tests on PUR-bound books routinely show 50% higher strength than traditional EVA hot-melt glue. We will dig into the adhesive comparison in detail later in this guide, but the short version is this: adhesive technology has come a long way, and today’s perfect binding is far tougher than most people expect.
Lightweight and Portable
Perfect bound books are significantly lighter than their hardcover counterparts. There are no heavy cover boards, no end sheets, no cloth wrapping. For a 300-page book, switching from hardcover case binding to perfect binding can shave 30-40% off the total weight. That matters when you are shipping books in bulk, carrying a travel guide in your backpack, or stocking a trade show booth with handouts.
Cost-Effective at Scale
For print runs of 50 copies or more, perfect binding is one of the most economical binding methods available. The materials are simple: paper, cardstock for the cover, and adhesive. The production line is highly automated. Setup costs amortize quickly over larger quantities. Compared to Smyth-sewn hardcovers, perfect binding typically costs 40-60% less per unit. For self-publishers operating on tight margins, that cost difference can determine whether a project is financially viable.
The Perfect Binding Production Process: Six Steps from Stack to Book
Understanding how a perfect bound book comes together helps you make smarter design and specification decisions. Here is a walk through each stage of commercial perfect binding production, as it happens on the floor at EcoPrinting.
Step 1: Printing the Interior Pages
The book block starts as large press sheets. Offset printing or high-speed digital printing lays down the text and images on both sides of each sheet. The paper grain direction is critical here — it must run parallel to the spine. If the grain runs perpendicular, the pages will resist opening, and the book will feel stiff and awkward. At EcoPrinting, we always verify grain direction before the press run starts, because fixing it after printing is not possible.
Step 2: Folding and Collating Signatures
Printed sheets are folded into signatures (also called sections or booklets). A signature is typically 4, 8, 16, or 32 pages, depending on the press sheet size and the final trim size. The folded signatures are then collated in the correct reading order. Collating errors are rare in modern automated lines, but they are a nightmare when they slip through — imagine a cookbook where page 47 suddenly jumps to page 63. Quality checks at this stage catch sequence issues before the book goes further.
Step 3: Milling (Roughening) the Spine Edge
This is the step that separates perfect binding from side-stitching or sewn binding. The collated book block is clamped tightly, and the spine edge is passed over a rotating milling blade. The blade grinds away approximately 2-4 mm of the folded spine edge, removing the folds and exposing the raw paper fibers. It also creates a slightly rough, textured surface. Why does roughness matter? Because the adhesive needs surface area to grip. A smooth, polished edge gives glue less to hold onto. The milled, fibrous edge acts like thousands of microscopic anchors for the glue.
For burst binding (a variation of perfect binding), the spine is not milled off entirely. Instead, small slots or perforations are cut into the fold of each signature, allowing adhesive to penetrate into the center of each section. Burst binding retains some of the thread-like strength of the folded paper while still using glue as the primary bond.
Step 4: Applying the Adhesive
With the spine edge prepared, the book block moves to the gluing station. Hot-melt adhesive (EVA or PUR) is applied at temperatures between 120°C and 160°C, depending on the glue type. The adhesive is spread evenly across the entire spine surface. A thin layer also extends slightly onto the first and last pages (roughly 3-5 mm), which is what bonds the cover to the book block.
One detail that novice publishers often overlook: the glue must penetrate slightly between the pages, not just coat the surface. The milling process opens the paper fibers, and the adhesive seeps into those micro-gaps. That inter-fiber penetration is what gives perfect binding its holding strength. If the glue only sits on the surface, pages will pull out cleanly with minimal force.
Step 5: Attaching the Cover
The cover, printed on heavier stock (typically 250-300 gsm for standard books), has been pre-scored with two hinge lines. These hinge scores, usually placed 5-7 mm from the spine edge on each side, create a natural flex point. When the cover is pressed against the glued book block, it wraps around the spine and the two hinge scores allow the cover to open and close smoothly without stressing the glue bond.
The cover is aligned precisely so that the spine text lands dead-center on the book block spine. Even a 1 mm misalignment is visible on a shelf, so registration at this stage is checked frequently throughout the production run.
Step 6: Trimming to Final Size
After the adhesive has set (EVA sets in minutes; PUR takes up to 24 hours for a full cure, though initial handling strength develops within hours), the book enters the three-knife trimmer. This machine cuts all three non-spine edges — top, bottom, and face (the open side) — in a single pass. The result is the “perfect” flush edge that gives the binding method its name. After trimming, the book goes through a final quality inspection for glue adhesion, cover alignment, and trim accuracy before packing.
How to Calculate Spine Width: The Formula Every Designer Needs
Before you design a cover, you must know your spine width. Guessing leads to spine text that wraps around the front or back cover, or a spine that looks comically thin next to the rest of the design. The formula is straightforward, but the inputs matter.
The Core Formula
Here is the standard formula for perfect bound softcover books:
Spine Width (mm) = (Interior Paper Thickness × Total Page Count ÷ 2) + (Cover Paper Thickness × 2)
Let us break that down. You divide the page count by two because each physical sheet of paper carries two printed pages (one on the front, one on the back). You multiply the single-sheet thickness by the number of physical sheets. Then you add the cover thickness on both sides. For most projects, the cover contribution is small (around 0.5-0.7 mm total), but it should not be ignored.
Worked Example
Imagine a 200-page book printed on 100 gsm uncoated offset paper. The single-sheet thickness of 100 gsm offset is approximately 0.123 mm. The cover is 250 gsm art card with a thickness of roughly 0.25 mm per side.
Spine Width = (0.123 mm × 200 ÷ 2) + (0.25 mm × 2)
Spine Width = (0.123 mm × 100) + 0.50 mm
Spine Width = 12.3 mm + 0.50 mm
Spine Width = 12.8 mm
In practice, printers may round this to 13 mm and add a small tolerance for glue thickness. Always confirm the final spine width with your printer before sending cover artwork to press. Different paper mills produce stock with slightly different caliper measurements, even at the same listed GSM. At EcoPrinting, we measure the actual paper caliper with a micrometer rather than relying on generic look-up tables.
Paper Thickness Reference
As a quick reference, here are approximate single-sheet thicknesses for common uncoated offset papers:
80 gsm: ~0.095 mm
100 gsm: ~0.123 mm
120 gsm: ~0.140 mm
140 gsm: ~0.160 mm
190 gsm: ~0.260 mm
Coated papers (gloss or matte art paper) are denser, so a 128 gsm coated sheet is thinner than a 120 gsm uncoated sheet. Always check with your printer for the actual caliper of the stock they carry.
Perfect Binding vs. Sewn Perfect Binding: Understanding the Trade-offs
Not all perfect binding is created equal. There is a significant difference between standard perfect binding (adhesive only) and sewn perfect binding (thread-sewn signatures plus adhesive). Choosing between them depends on how the book will be used, how long it needs to last, and what your budget allows.
Standard Perfect Binding (Adhesive Only)
In standard perfect binding, the folded edges of the signatures are milled off, and the raw page edges are glued directly to the spine of the cover. The bond is entirely chemical: glue adhesion to paper fibers. No thread, no stitching, no mechanical fastening. This is how the vast majority of trade paperbacks are manufactured.
Feature
Standard Perfect Binding
Sewn Perfect Binding
Binding Mechanism
Adhesive only (EVA or PUR)
Thread-sewn signatures + adhesive
Durability
Good (excellent with PUR)
Excellent (archival quality)
Lay-Flat Ability
Limited; spine may crack if forced flat
Excellent; lays flat without damage
Page Pull Strength
Moderate to high (depends on glue)
Very high; pages tear before thread breaks
Production Time
Fast; highly automated
Slower; sewing step adds time
Cost per Unit
Lower
30-50% higher
Minimum Page Count
~28 pages
~48 pages (needs full signatures)
Maximum Page Count
~800 pages (varies by paper weight)
~1000+ pages
Best For
Novels, catalogs, manuals, reports
Textbooks, cookbooks, art books, reference works
When Sewn Perfect Binding Is Worth the Extra Cost
Sewn perfect binding (also called Smyth-sewn perfect binding or section-sewn binding) adds a crucial step: before the adhesive is applied, the individual signatures are sewn together with thread through the fold. The sewn book block is then glued into the cover just like a standard perfect bound book. The thread provides mechanical strength that no adhesive alone can match.
Why pay extra? Three scenarios justify the cost:
First, books that need to lay flat. Cookbooks, music books, field guides, and textbooks are used on desks and kitchen counters. A standard perfect bound book springs shut unless held open. A sewn perfect bound book stays open flat at any page, hands-free. For a cookbook user with flour-covered hands, this is non-negotiable.
Second, books that will be handled heavily over years. Libraries, schools, and reference collections want a book that survives hundreds of opens without pages loosening. Sewn binding is the standard for archival-quality softcover editions. With thread holding each signature independently, a single page cannot fall out without physically tearing the paper.
Third, books with cross-page images. Photography books, art catalogs, and graphic novels often feature images that span two facing pages. Visible gutter loss (the portion of the image that disappears into the spine) ruins the visual impact. Sewn binding minimizes gutter loss because the book opens wider with less resistance.
PUR vs. EVA Adhesive: The Glue Decision That Shapes Your Book
If you take away one piece of technical knowledge from this guide, make it this: the choice between EVA and PUR adhesive is the single most impactful specification decision in perfect binding. It affects durability, flexibility, temperature resistance, and even which paper stocks you can use.
EVA (Ethylene-Vinyl Acetate) Hot Melt
EVA has been the workhorse adhesive of the perfect binding industry since the 1960s. It is a thermoplastic hot-melt glue: solid at room temperature, liquid when heated to approximately 140-160°C, and solid again once it cools. The set time is fast — typically seconds to minutes — because no chemical reaction is involved. It is purely a physical phase change from liquid to solid.
Strengths of EVA:
Fast setting time keeps production lines moving at high speed
Lower material cost per unit compared to PUR
Leftover glue can be reheated and reused, reducing waste
Works very well on uncoated, absorbent paper stocks
Familiar to every commercial bindery; equipment and training are standard
Weaknesses of EVA:
Can be reactivated by heat. A book left in a hot car on a summer day may experience glue softening and page loosening
Becomes brittle in cold temperatures (typical cold crack point: around -1°C / 30°F)
Struggles to bond with heavily coated, laminated, or UV-finished papers
Lower page pull strength compared to PUR (typically up to 50% weaker in pull tests)
Ages less gracefully; embrittlement over 5-10 years is common, especially with fluctuating humidity
PUR (Polyurethane Reactive) Adhesive
PUR is the newer, higher-performance option. The “reactive” part is key: unlike EVA, PUR cures through a chemical reaction with moisture in the air and in the paper fibers. Once cured, the bond is irreversible. PUR cannot be remelted, which is a disadvantage during manufacturing (leftover glue is wasted) but a significant advantage for the end user: no amount of heat will cause pages to fall out.
Strengths of PUR:
50% or higher page pull strength compared to EVA in standardized tests
Extreme temperature tolerance: resists cold cracking down to -29°C / -20°F and does not soften in high heat (stable up to approximately 150°C / 300°F)
Excellent adhesion to coated, UV-finished, and cross-grained paper stocks that EVA cannot reliably bond
Superior flexibility after curing: books lay flatter and spines resist cracking even with repeated flexing
Resistant to ink oil migration, which prevents binding degradation in heavily inked areas
Thinner glue application achieves equal or greater strength, reducing the “glue bulge” at the spine
Dries clear; any adhesive that squeezes into visible areas is far less noticeable
Weaknesses of PUR:
Higher material cost per unit (typically 20-40% more than EVA)
Slower cure time: full strength takes up to 24 hours, though handling strength develops in 4-6 hours
Requires specialized application equipment with heated hose systems and sealed tanks to prevent moisture contact before application
Leftover PUR cannot be reheated and reused, increasing material waste
Shorter open time (the window between glue application and cover attachment) requires tighter process control
Which Should You Choose?
For mass-market paperbacks, short-run promotional booklets, or low-cost manuals printed on uncoated stock, EVA is the practical choice. It is affordable, well-understood, and perfectly adequate for books that will be read once or twice and shelved.
For any book that needs to endure — a photography portfolio, an educational textbook, a premium corporate publication, a cookbook, or any project printed on coated stock — PUR is the right call. The cost difference per book is small (often just cents per unit), and the improvement in durability and perceived quality is significant. At EcoPrinting, we default to PUR for all perfect bound work unless the client specifically requests EVA for budget reasons. The feedback we receive from repeat customers confirms that the upgrade is worth it.
Design Tips for Perfect Bound Books: Cover Artwork That Prints Right
Perfect binding introduces a few design constraints that do not apply to other binding methods. Ignoring them leads to covers with misaligned spines, text disappearing into the gutter, or important elements getting trimmed off. Here are the five most important design rules to follow.
1. Calculate the Spine Width First, Design Second
Do not open your design software until you have a confirmed spine width from your printer. The spine width determines the total cover spread (front cover + spine + back cover). Even a 1 mm error in spine width means the spine text shifts off-center. If your page count or paper choice changes late in the process, recalculate the spine and adjust the cover artwork before going to press.
2. Set Up Bleed Correctly
Standard bleed for perfect bound covers is 0.125 inches (3 mm) on all outer edges. Any background color or image that touches the trim edge must extend at least 3 mm beyond the trim line. Without bleed, even a tiny misalignment during trimming leaves a visible white sliver at the edge. That sliver is the first thing your customer notices, and it instantly undermines the premium feel you are aiming for.
3. Respect the Hinge Area (Gutter Margin)
The hinge is the scored line on each side of the spine where the cover bends when the book opens. Critical content — text, logos, barcodes — should stay at least 0.1875 inches (approximately 5 mm) away from the hinge score on both the front and back covers. If text runs too close to the hinge, it will curve into the bend and become difficult to read.
On the inside pages, maintain a gutter margin of at least 0.5 inches (12.7 mm), and 0.75 inches (19 mm) is better for books over 200 pages. Perfect bound books do not lay completely flat, so content near the inner binding edge will curve into the gutter. Thin books are worse offenders here than thick ones because the spine flexes over a tighter radius.
4. Keep a Safe Zone for Critical Elements
In addition to bleed, maintain a safe zone of at least 0.25 inches (6.35 mm) inside all trim edges on both the front and back covers. Nothing essential — text, faces in photos, page numbers, or contact details — belongs in this safety margin. Trimming tolerances in commercial printing are typically ±1 mm, but the safe zone gives you a buffer against the worst case.
5. Image Resolution and Color Space
All images should be 300 DPI at final output size. Submitting a 72 DPI web image and hoping the printer “fixes it” results in a pixelated, unprofessional print. Use CMYK color mode for everything destined for offset or digital printing. RGB files get converted at the RIP stage, and the conversion almost always darkens colors and shifts tones unpredictably. Preview your cover in CMYK before exporting, and if your blacks need to be rich and deep, use a rich black build (e.g., C:60 M:40 Y:40 K:100) rather than 100% K alone.
Export as a press-ready PDF with bleed and crop marks included. Avoid submitting JPEG files, Canva-generated low-resolution PDFs, or files with fonts that are not embedded or outlined.
Frequently Asked Questions About Perfect Binding
What is the minimum page count for perfect binding?
Most commercial binders require a minimum of 28 interior pages (counting both sides of the sheet). Below that, the spine is too thin for the adhesive to form a reliable bond and too narrow to print text on. For books under 28 pages, saddle stitching is usually the better option.
How long does perfect binding take to produce?
Digital short-run perfect binding (1-500 copies) typically takes 3-7 business days from file approval to shipment. Offset perfect binding runs (1,000+ copies) usually take 2-4 weeks, depending on the print queue and finishing complexity. PUR cure time adds roughly 24 hours to the schedule, though books are usually packed and shipped before the full cure completes because handling strength is reached within hours.
Can perfect bound books lay flat?
Standard perfect bound books are not designed to lay flat. Forcing one open on a table will stress the glue bond, and repeated flat-opening can crack the spine. If lay-flat functionality is essential, specify sewn perfect binding (Smyth-sewn signatures) or a lay-flat PUR binding variant that uses cold glue applied thinly so the book block “floats” over the spine rather than being rigidly attached.
What is the maximum page count for perfect binding?
Most perfect binding equipment handles books up to approximately 800 pages (400 sheets) on standard 80-100 gsm paper, or roughly 50-60 mm spine thickness. Beyond that, the glue bond must support significant weight, and the book becomes unwieldy to handle. For books over 800 pages, consider splitting into volumes or switching to sewn hardcover case binding.
What paper stocks work best with perfect binding?
Uncoated offset paper (80-120 gsm) is the most forgiving for both EVA and PUR adhesives because the absorbent surface gives the glue plenty of grip. Coated papers (gloss or matte art paper) require PUR adhesive for reliable bonding because the coating layer resists EVA penetration. Very lightweight papers (below 70 gsm) can wrinkle during gluing, and very heavy papers (above 200 gsm) may not flex well at the spine. The sweet spot for most projects is 100-128 gsm uncoated text stock with a 250-300 gsm cover.
Does perfect binding allow printing on the spine?
Yes, provided the spine is at least 3 mm wide. For spines narrower than 4 mm, keep the design simple — small text and solid colors work better than intricate graphics. For spines under 3 mm, skip spine printing entirely and let the cover design carry the visual load.
Can I use foil stamping or spot UV on a perfect bound cover?
Absolutely. Foil stamping, spot UV coating, embossing, and debossing are all compatible with perfect bound covers. These finishing techniques are applied to the cover before the binding stage. The only constraint is that any finish near the spine must stay clear of the hinge score area to avoid cracking when the cover flexes.
Is Perfect Binding Right for Your Project? Our Verdict
Perfect binding occupies a unique position in the book manufacturing landscape. It is more polished than saddle stitching, more affordable than hardcover case binding, and more shelf-friendly than spiral or wire binding. For the vast majority of softcover books — novels, memoirs, business books, catalogs, manuals, and corporate publications — perfect binding is the natural default choice.
The key decisions that separate a commodity-perfect-bound book from a premium one are the same regardless of genre: choose PUR adhesive over EVA when durability matters, calculate your spine width before you design the cover, respect the safe zone and bleed margins in your artwork, and match your paper stock to your binding method. These are not expensive upgrades. They are the difference between a book that reads like a professional publication and one that feels like a print-on-demand afterthought.
At EcoPrinting, we have guided thousands of authors, publishers, and businesses through the perfect binding specification process. We believe that the binding should be invisible to the reader — so unobtrusively well-executed that the reader focuses entirely on the content. When a book lays comfortably in the hand, opens naturally, and stays intact after years on the shelf, the binding has done its job.
If you are planning a perfect bound book project and want to talk through paper options, adhesive choices, or cover specifications, our team is here to help. Contact EcoPrinting today for a free consultation and quote. We will walk you through every step from file preparation to delivery, and make sure your book looks exactly the way you imagined it.