Why Hardcover Binding Still Matters
A paperback does its job. You read it, you shelve it, and over time the spine cracks and the corners curl. A hardcover does something else entirely — it stays. There’s a reason libraries fill their shelves with case bound books and publishers reserve the format for titles they believe in. The physical weight, the textured cover, the satisfying resistance when you open to the first page — none of these happen by accident. Every element of a case bound book is engineered for permanence.
Hardcover binding, known in the trade as case binding, wraps a sewn book block inside rigid cover boards. The result outlasts softcover editions by decades. That durability matters for anyone publishing a book meant to be used repeatedly — textbooks that survive semesters, children’s books that survive toddlers, coffee table books passed between friends. But durability only tells half the story. A case bound book also opens up finishing possibilities that paperbacks simply can’t accommodate: foil stamping, embossed titles, spot UV gloss, and cloth-wrapped boards that make a book feel like an object worth keeping.
At EcoPrinting, we’ve seen the difference firsthand across thousands of print runs. Publishers who invest in hardcover binding report higher retail pricing power and stronger reader attachment. The format signals quality before anyone reads a single word.
Anatomy of a Case Bound Book
Understanding what goes into a hardcover helps you make smarter production decisions. Strip away the dust jacket and you’ll find four structural layers working together.
The Book Block
The book block is the complete interior — all printed pages gathered in sequence. In quality hardcover production, pages are printed onto large sheets, folded into signatures (groups of 4, 8, or 16 pages), and then sewn through the fold with thread. This Smyth sewing method creates a flexible hinge at each signature’s spine edge, which lets the book open flat without cracking. That’s the physics behind why a well-made hardcover stays intact after years of use while a perfect-bound paperback eventually splits at the spine.
Endpapers sit at the front and back of the book block. These heavy stock sheets — often tinted, patterned, or printed — connect the inner pages to the cover boards. Most readers skip past endpapers without a second thought, but structurally they carry the entire weight of the cover, transferring stress from the boards to the book block through a glued hinge area.
The Cover Boards and Case
The rigid feel of a hardcover comes from greyboard — dense recycled fiber board, typically 2mm to 3mm thick depending on the book’s trim size and page count. Three separate board pieces form each cover: a front panel, a back panel, and a narrow spine strip. A case-making machine positions these three boards on a sheet of cover material, glues them in place, and folds the material edges around them. The finished assembly is called the case.
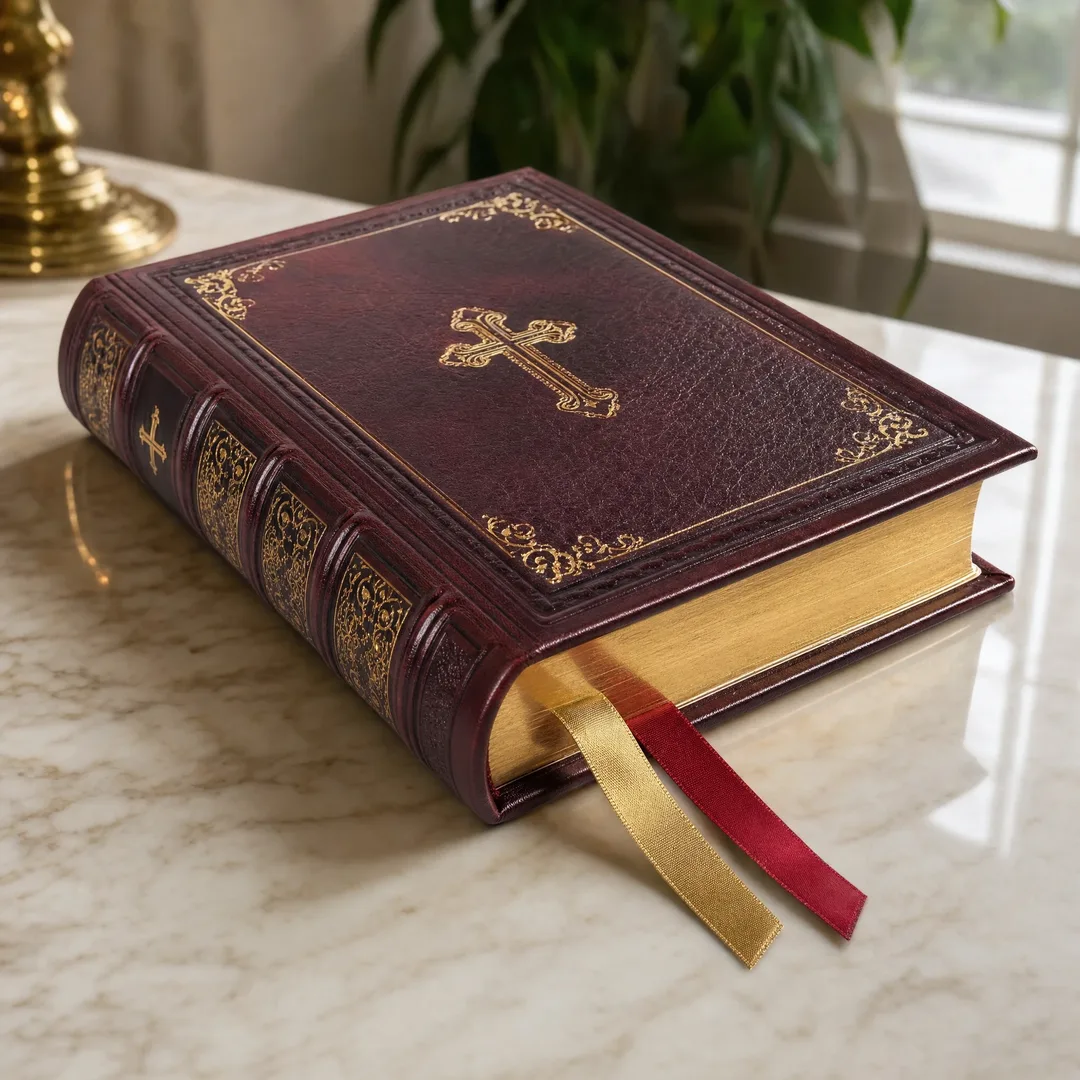
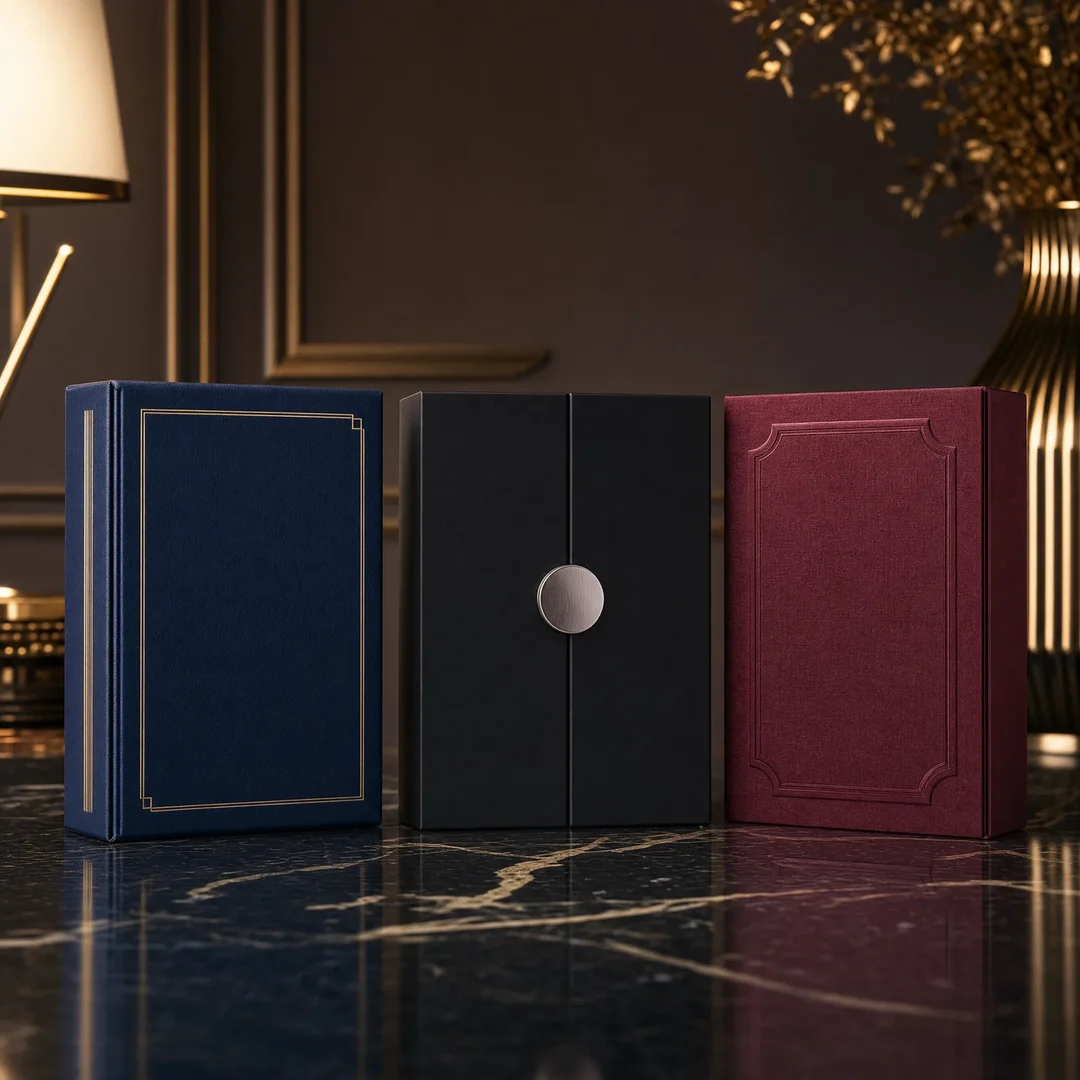
Cover material options run from economical to extravagant. Printed paper wraps laminated for protection sit at the accessible end. Cloth covers — buckram, linen, or cotton — add texture and a traditional library feel. For special editions, bonded leather or genuine leather wraps the boards for a tactile luxury that paper cannot replicate. Some publishers combine materials, using cloth on the spine and paper on the boards in what’s called a quarter-bound design.
The Spine
Spine style depends on page count. Books under roughly 200 pages typically use a square spine — flat and clean-edged. Books with higher page counts benefit from a rounded spine, which distributes the stress of opening across a curved surface. Rounded spines also give the book that classic convex shape on the shelf and prevent the text block from sagging forward over time. Both styles can accept foil stamping for the title and author name. A square spine needs at least 16 pages to have enough surface area for the stamping to register clearly.
The Production Process: From File to Finished Book
Case bound production follows a sequential workflow where each step depends on precision from the step before. Rushing any stage compounds errors downstream. Here’s how a typical run moves through the bindery.
Prepress and Proofing
Every print run starts with files. Your interior pages and cover artwork come in as PDFs. The prepress team checks resolution (300 DPI minimum for offset), verifies bleed margins, confirms color mode is CMYK, and runs a soft proof to catch layout issues. A hardcopy proof — printed on the actual stock — follows. Colors shift between screens and paper, sometimes dramatically, so a physical proof is the only reliable way to check saturation, contrast, and registration before plates go to press.
CTP and Offset Printing
Once proofs are approved, the prepress department outputs aluminum printing plates through a computer-to-plate (CTP) system. These plates mount onto offset presses where ink transfers from plate to blanket to paper in sequence. Offset remains the standard for hardcover runs because it delivers consistent color across thousands of impressions and handles the fine detail that digital presses sometimes struggle with — photo gradients, thin serif type, large solid-color areas. For shorter runs, digital printing has narrowed the quality gap considerably and now provides a viable alternative.
Folding, Gathering, and Sewing
Printed sheets come off the press and move to the folding floor, where machines fold them into signatures. A gatherer collates the signatures in the correct reading order to form the book block. Then the sewing line kicks in. Thread-sewing through the signature folds creates the strongest possible binding structure. The thread bindings run vertically along the spine, laced through each signature’s fold line, giving the book block both strength and flexibility.
After sewing, the book block gets compressed — what the trade calls nipping or smashing — to flatten the spine area and set the signatures tight against each other. The spine then receives a coat of adhesive and a layer of backing material (gauze or paper liner) for reinforcement. A three-knife trimmer shaves the three open edges to the final trim size, producing clean, even page edges.
Case Making and Casing-In
While the book block takes shape, a parallel line produces the cases. The case-making machine cuts greyboard to spec, positions the three boards on the cover material, applies adhesive, and wraps the material edges around the boards. The result is a complete case — rigid, clean, ready for assembly.
Casing-in joins the two components. A machine applies adhesive to the outer faces of the endpapers, positions the book block inside the case, and presses everything together. The critical detail here is alignment: the book block must center perfectly within the case so margins match on all sides. A joint-forming press then creates the hinge groove — that recessed channel running along both sides of the spine that lets the cover open and close smoothly.
Finishing Steps
After casing-in, the books pass through final finishing. Dust jackets get wrapped and positioned. Ribbon bookmarks get attached at the spine head. Some books receive headbands — those small decorative fabric bands at the top and bottom of the spine interior — that add a traditional craft detail. Edge treatments like gilding, staining, or edge printing can be applied at this stage too, adding color or metallic flash to the page edges when the book is closed.
A quality check at the end of the line catches alignment errors, glue residue, and color mismatches before books go into cartons. For most publishers, production from file submission to finished cartons takes 15 to 18 working days, though complex finishing requirements can extend the timeline.
Cover Finishing: Where the Book Comes Alive
The cover is the first physical interaction a reader has with your book. These finishing techniques transform a plain printed case into something that demands to be picked up.
Foil Stamping
Heat and pressure transfer metallic or pigmented foil onto the cover surface through a custom-made metal die. Gold and silver dominate, but foil comes in copper, holographic, matte black, and dozens of other shades. Foil stamping works on paper, cloth, and leather covers. The result has a subtle physical texture — you can feel the stamped area as you run a finger across it. Publishers typically use foil on the spine title, the front cover title, and occasionally a decorative element.
Embossing and Debossing
Embossing raises a design above the cover surface. Debossing presses it in. Both techniques use a male-female die set that pinches the cover material between them under pressure. The effect works best with heavier cover stocks and thicker boards that can hold the relief shape without tearing. A common approach pairs debossing with foil — the debossed area gets foil-stamped afterward, combining dimensional texture with metallic shine.
Spot UV and Lamination
Spot UV applies a high-gloss clear varnish to selected areas of the cover — a title, a logo, a central image — while leaving the rest matte. The contrast between glossy and matte surfaces in the same cover creates a striking visual effect that catches light differently as the book moves. Flood lamination, by comparison, coats the entire cover in either matte or gloss film. Matte lamination delivers a soft, sophisticated finish that resists fingerprints. Gloss lamination adds pop and vibrancy but shows smudges more readily.
Die Cutting, Rounded Corners, and Edge Treatments
Die cutting punches custom shapes into the cover — a window revealing an image on the first page, for example. Rounded corners soften the book profile and reduce corner damage, making them popular for children’s books and journals. Brushed or colored page edges add a finishing detail visible even when the book sits closed on a shelf. Sprayed edges in a solid color have become increasingly popular for special editions, particularly in young adult fiction.
Book Types That Shine in Hardcover
Some formats simply work better in hardcover than others. Here’s where case binding delivers the strongest return.
Novels and literary fiction. A hardcover first edition signals literary importance. Collectors and dedicated readers pay premium prices for hardcover debuts, and the format protects longer works — think dense 400-page novels — from the spine wear that paperbacks accumulate.
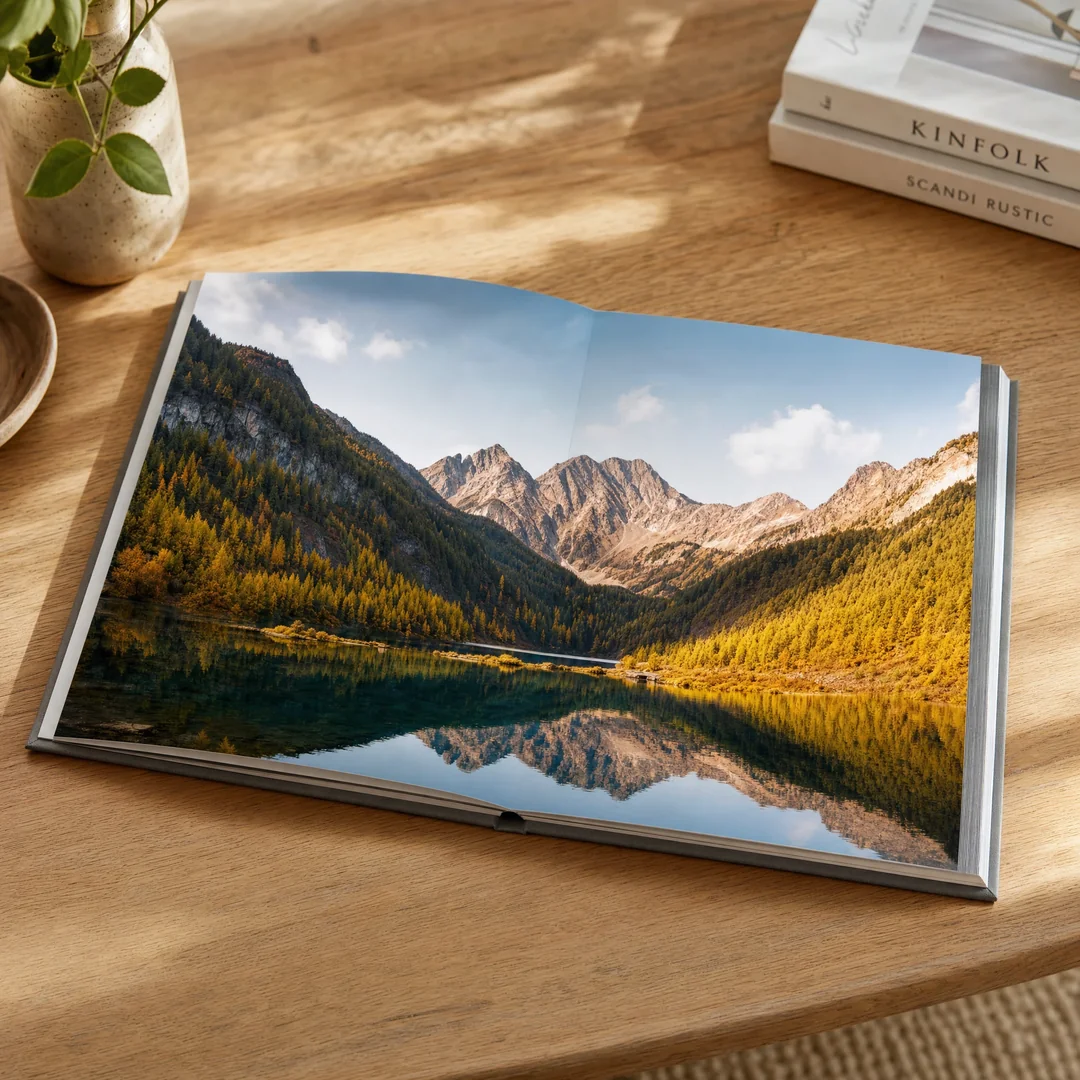
Coffee table and art books. Large-format books with full-page photographs or reproductions need rigid covers that support their weight and protect their pages. The flat-lay capability of a properly sewn hardcover lets readers study two-page spreads without fighting the binding. For photography monographs and gallery catalogues, anything less than case binding undermines the work.
Reference and academic books. Dictionaries, encyclopedias, and technical manuals take abuse. They sit on desks, get pulled from shelves daily, and need to stay open at specific pages. Smyth-sewn case binding handles all of this without the pages falling out, which is why libraries overwhelmingly prefer the format.
Cookbooks. Kitchen environments are hostile to paper. Grease, water, flour — cookbooks encounter everything. A laminated hardcover wipes clean and stays flat when propped open on a countertop. The extra cost buys genuine usability.
Children’s books. Board books dominate the youngest age range, but picture books for ages 4–8 benefit enormously from hardcover construction. The reinforced spine survives repeated rough handling, and the larger trim sizes let illustrations fill the page.
Yearbooks, catalogues, and corporate publications. These serve as permanent records. A hardcover yearbook outlasts the students who signed it. A product catalogue in case bound format conveys brand quality before a single product detail is read.
Special and limited editions. When a publisher wants to create an event around a release, the hardcover special edition — numbered, slipcased, edge-painted — turns a book into a collectible object. The format itself becomes part of the marketing.
Artwork Setup: Getting Your Files Right
Production problems almost always trace back to file setup. Getting the prepress details right saves time, money, and frustration. Here are the specifications that matter most.
Bleed and Safe Zone
Bleed is the extra image area that extends beyond the trim line, giving the guillotine some tolerance when cutting. For interior pages, add 3mm of bleed on all four sides. For the cover, you need more — 15mm to 20mm — because the cover material wraps around the greyboard edges and folds inward. Without sufficient bleed, you risk thin white slivers appearing at the cover edges after trimming.
Keep all critical content — text, logos, page numbers — at least 5mm inside the trim line. Content too close to the edge risks getting trimmed off or winding up in the fold area on the cover.
Spine Width Calculation
The spine width depends on two variables: page count and paper thickness. Every paper stock has a specific bulk — the thickness of a single sheet measured in microns. The formula is straightforward:
Spine width = (number of pages ÷ 2) × paper bulk
As an example, a 200-page book printed on 128gsm coated paper (roughly 0.08mm bulk per sheet) produces a spine of approximately 8mm. A 400-page book on 80gsm uncoated stock yields roughly 10mm. Submit your exact page count and paper choice to your printer and they’ll calculate the spine width precisely — never guess this number, because a spine that’s even 1mm off will shift your cover artwork visibly off-center.
Cover Layout Dimensions
A full cover spread for a case bound book includes: back cover width + spine width + front cover width + front hinge (roughly 7–8mm) + back hinge (7–8mm) + full bleed wrap area (15–20mm on all sides). The hinge areas — those grooves between the spine and boards — need to be factored into the layout but should remain free of text or critical design elements.
File Specifications
Resolution: 300 DPI for all images and graphics. Anything lower produces visible pixelation in print. Color mode: CMYK, not RGB. Colors that look bright on screen can print muddy if left in RGB, particularly blues and greens. File format: PDF/X-1a or PDF/X-4, with fonts embedded and layers flattened. Convert all text to outlines if your printer requests it, but check first — this can affect file size and editability.
Frequently Asked Questions
What’s the minimum page count for a hardcover?
Most binderies require at least 16 interior pages to build a spine with enough surface area for the case to hold its shape. Below that, the spine becomes too thin for stamping and the binding loses structural integrity. If your project has fewer pages, consider saddle-stitching as an alternative or adding supplementary content to reach the minimum.
What trim sizes are available?
Hardcovers work in virtually any trim size. Common dimensions include 6×9 inches (standard trade), 8.5×11 inches (reference and textbooks), 5.5×8.5 inches (compact hardcover), and 10×10 inches or larger for coffee table formats. Custom sizes are standard in case bound production — the cases are built to spec, so you aren’t locked into a fixed template.
How much more does case binding cost versus softcover?
Hardcover production typically runs two to three times the unit cost of a comparable perfect-bound paperback. The material costs alone (greyboard, cover material, endpapers, additional adhesive) account for much of the difference, and the extra production steps — sewing, case making, casing-in — add labor and machine time. For short runs, the per-unit premium is higher because setup costs distribute across fewer copies. For runs of 1,000 or more, the gap narrows.
Can I print a small quantity?
Yes. Digital hardcover production has made runs as low as 50 copies economically viable. The setup costs that make offset prohibitive at low quantities — plate production, makeready, and wash-up — don’t apply to digital workflows. EcoPrinting offers digital case binding for quantities starting at a single proof copy through to runs of several hundred, with offset becoming more cost-effective above roughly 500 copies depending on the spec.
What materials can I use for the cover?
The main options are printed paper wraps laminated for protection, cloth (buckram, linen, cotton in various colors and weaves), bonded leather, and genuine leather. Paper wraps offer the most design flexibility since they can carry full-color artwork. Cloth and leather covers are typically decorated with foil stamping rather than printing. Some projects use a dust jacket over a plain cloth cover to combine the best of both — rich cover material plus full-color artwork on the jacket.
How long does production take?
Standard production runs 15–18 working days from file approval to shipping. Rush service can compress the timeline but requires premium scheduling fees. Books with multiple finishing passes — foil plus embossing plus spot UV, for instance — need extra production days because each process runs separately with drying time in between.
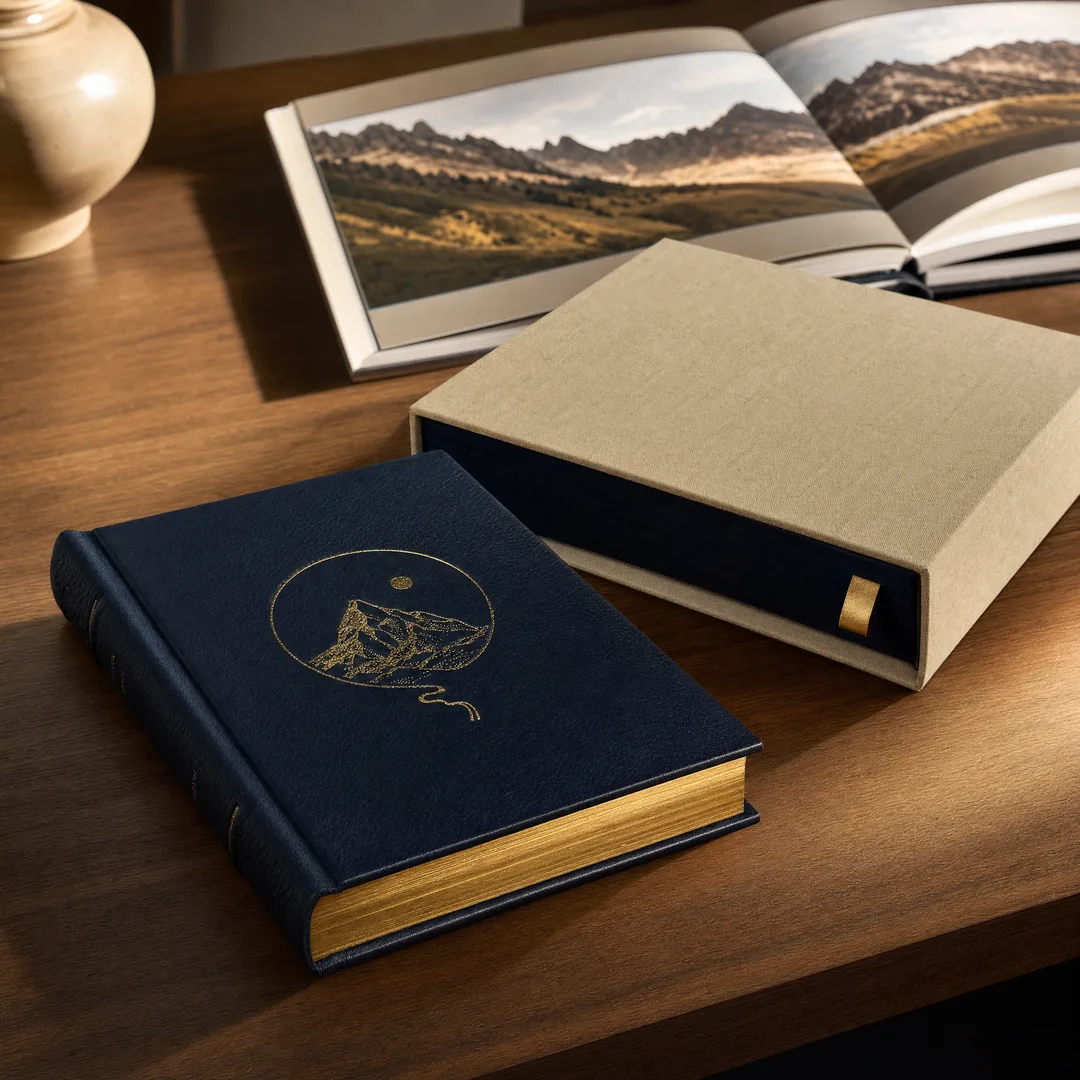
Should I add a dust jacket or slipcase?
Dust jackets serve both protective and promotional functions. They shield the cover from shelf wear and carry full-color artwork, blurbs, and author bios that a cloth cover cannot. Slipcases go further — a custom-fitted box that houses the book completely. They’re common for multi-volume sets, special editions, and high-value art books where maximum protection justifies the added cost. A slipcase can turn a $40 hardcover into a $100 collectible.
Making the Right Choice for Your Project
Case binding isn’t the cheapest option, but it’s often the right one when your book needs to last, to impress, or to command a premium price. The calculus shifts depending on your audience and your goals. A self-published novelist testing the market might start with paperback and move to hardcover for a second edition. A photographer publishing a monograph of ten years’ work should go straight to case bound — the images demand it, and the buyers expect it.
What separates a good hardcover from a great one comes down to the details that most readers never consciously notice: even margins, a spine that opens smoothly, cover material that feels right in the hand, type that registers cleanly on the foil stamp. These aren’t accidents. They’re the result of a production team that cares about craft as much as the author does.
If you’re weighing hardcover options for your next project — or trying to figure out whether case binding makes financial sense for your specific book — reach out to our team at EcoPrinting. We’ll walk through your page count, format, and finish preferences and give you an honest assessment, including where costs concentrate and where you can save without compromising quality.