Workbooks vs. Planners — What’s the Actual Difference?
Before you dive into custom workbook printing or planner printing, let’s get one thing straight: these are not the same product. I see buyers mix them up all the time, and that confusion leads directly to wrong binding choices, wrong paper specs, and expensive reprints.
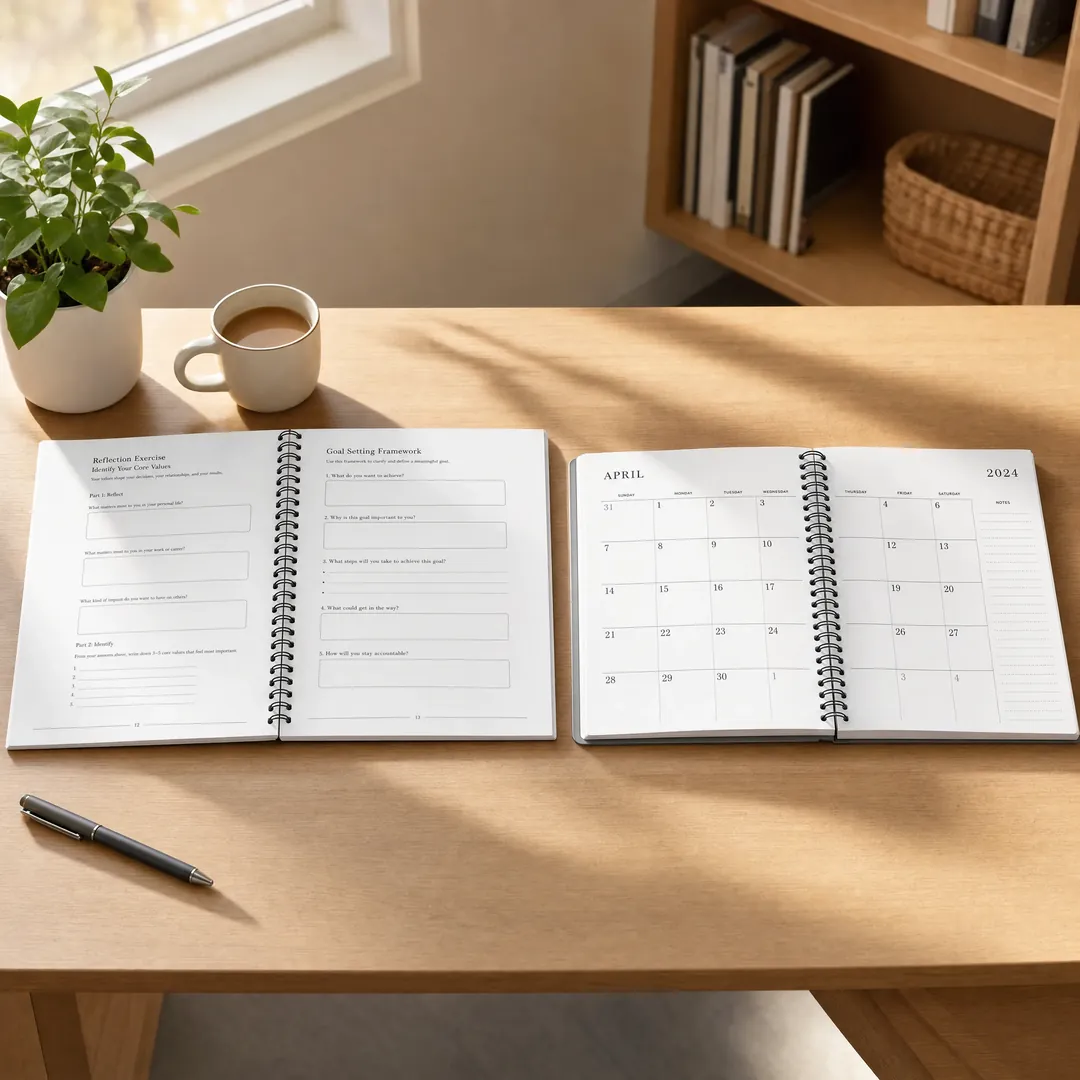
A workbook is an active-use document. Think of it as a training course on paper — exercises, fill-in-the-blank sections, practice problems, space for handwritten notes. Education publishers use them. Corporate trainers use them. Self-published authors package their coaching programs as workbooks. The defining feature? The end user writes in it. A lot. That means the binding has to lay flat for writing, the paper has to take pen and pencil without bleeding, and pages need to stay put through repeated flipping back and forth.
A planner is a scheduling and organization tool. Daily, weekly, or monthly layouts. Habit trackers. Goal-setting pages. Meeting notes sections. The key difference? Planners live on desks, get tossed into bags, travel to coffee shops, and get opened and closed dozens of times a day. Durability matters more here. So does the tactile experience — how the cover feels in hand, whether the corners survive a week in a backpack, and whether the elastic band actually holds things together after six months of daily use.
When Does a Workbook Need Planner Features?
Here’s where it gets interesting. A lot of products today straddle the line. A 90-day business planning workbook that includes calendar spreads and habit trackers — is that a workbook or a planner? Honestly, it’s both. And that hybrid approach is exactly why so many brands are now looking for factories that understand both categories. When you’re sourcing custom workbook printing, the factory needs to know if you want planner-style features like ribbon markers, elastic closure bands, or pocket folders in the back cover. Those little details change the production line setup completely.
What About Page Count and Structure?
Workbooks typically range from 40 to 200 pages depending on the curriculum depth. Planners usually fall somewhere between 120 and 260 pages for a full 12-month layout, though undated versions can be much shorter — sometimes as few as 60 pages. The thicker the book, the more binding choice matters. A 48-page saddle-stitched workbook is fine. A 200-page workbook with saddle stitching? Pages will start falling out within a month. This is exactly why wire-o binding dominates both categories at higher page counts.
Standard Sizes for Workbook and Planner Printing
Size is one of those decisions that seems trivial until you get it wrong. Pick a size that’s too big and your planner becomes a desktop anchor nobody wants to carry. Pick one that’s too small and the writing space becomes frustrating. Here’s what actually works in the real world, based on years of production runs.
The A5 Sweet Spot
A5 (148 × 210 mm / 5.83 × 8.27 inches) is by far the most popular size for both planners and mid-sized workbooks. It’s big enough for comfortable writing but small enough to fit in most bags. If you’re launching a first product and don’t have strong reason to go elsewhere, A5 is your safest bet. Most US corporate planner programs default to A5 for exactly this reason — it just works.
When to Go Bigger: A4 and US Letter
A4 (210 × 297 mm / 8.27 × 11.69 inches) and US Letter (8.5 × 11 inches) make sense for workbooks that need generous writing space — think math practice books, design sketchbooks, or technical training manuals. The trade-off is portability. These sizes feel substantial on a desk but bulky in a bag. For planners, A4 is rarely the right call unless you’re making a desktop-only product for executives who never leave their office.
Executive and Pocket Options: B5, B6, and A6
B5 (176 × 250 mm / 6.93 × 9.84 inches) occupies the space between A4 and A5 — common for executive desk planners and textbook-sized workbooks. B6 (125 × 176 mm / 4.92 × 6.93 inches) fits a suit jacket pocket and works well for high-end corporate gift planners. A6 (105 × 148 mm / 4.13 × 5.83 inches) is pocket-sized territory — great for trade-show giveaways and compact daily checklists, but frustratingly small for any workbook that requires actual writing space.
What the Factory Actually Needs to Know
When you spec a size to a Chinese printing factory, be specific about whether you mean trimmed size or untrimmed size. The trim is the final cut dimension after binding. Some factories quote on untrimmed sheet size and the numbers don’t match what you expect. Also, if you’re selling on Amazon or through US retail, know that US Letter (8.5 × 11 inches) requires different paper cutting than A4 — Chinese factories can do either, but you need to specify it clearly in your brief. Don’t assume they’ll guess.
Paper Choices That Actually Matter
Paper is the silent variable that makes or breaks a workbook or planner. The wrong paper choice creates bleeding, ghosting, and a product that feels cheap. The right paper choice makes writing a pleasure and elevates the perceived value instantly. Here’s what you need to know for custom workbook printing and planner production.
Interior Paper: Uncoated Offset Is Your Default
For workbook interiors, uncoated offset paper (also called woodfree paper) in the 80-100 gsm range is the standard for a reason. It absorbs ink well, handles ballpoint pens without smudging, and gives a natural, non-glossy reading experience. If your workbook includes a lot of full-color illustrations or photography, you might step up to 120-140 gsm coated paper for better image reproduction — but know that glossy paper is harder to write on with pencil or gel pen. For planners, 100-120 gsm is a common sweet spot: substantial enough to prevent ghosting from the other side, but not so thick that the planner becomes a brick.
Cover Stock: Making the Right First Impression
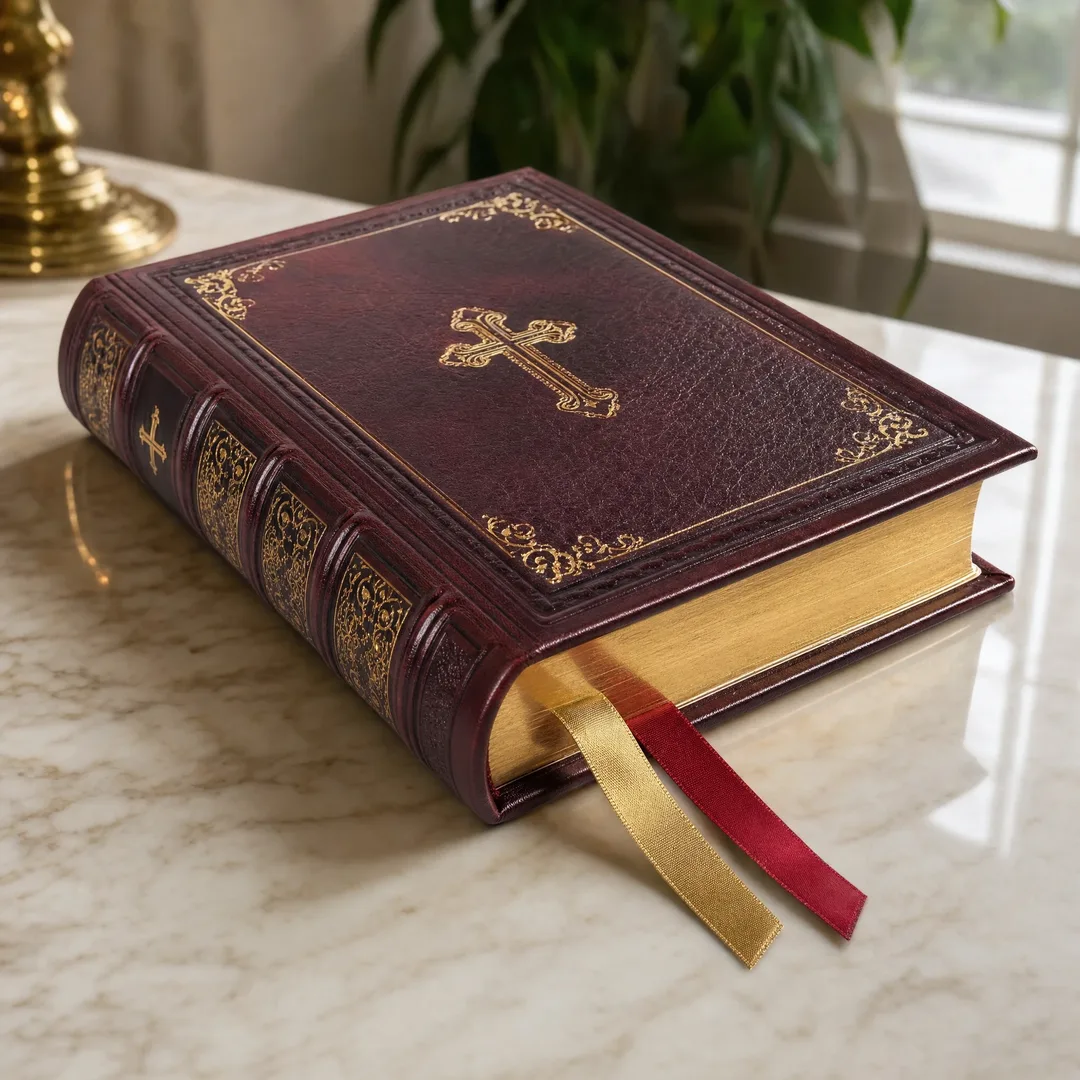
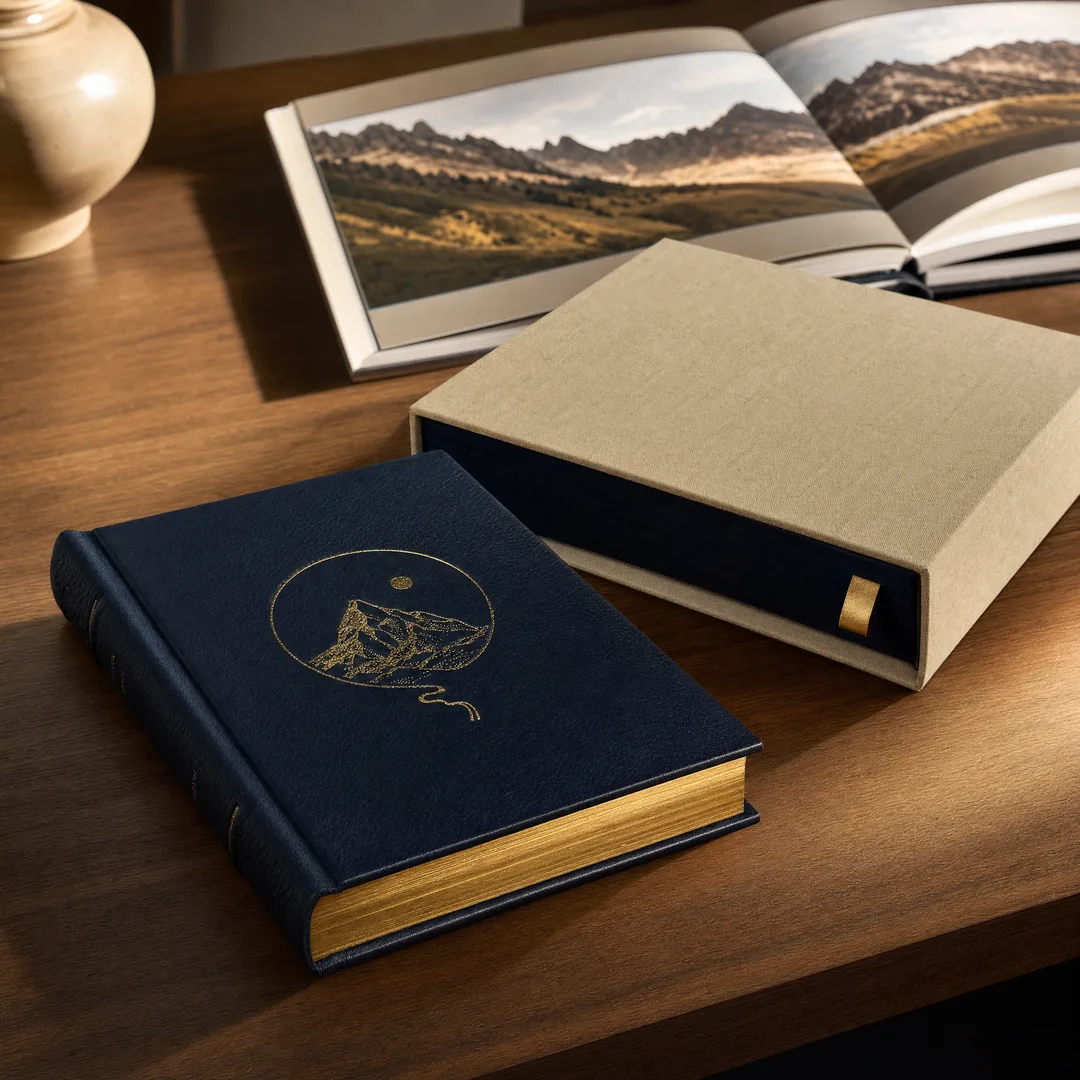
The cover is the handshake. For wire-o bound workbooks and planners, you have two main paths. The first is a softcover approach — 250-350 gsm card stock (often art card/C1S or C2S) with lamination on one or both sides. The second is a hardcover approach using grey board (typically 2-3 mm thickness) wrapped in printed paper, PU leather, or cloth. Softcover keeps costs down and works fine for most workbooks. Hardcover elevates planners into gift territory and justifies a much higher retail price. The lamination finish — gloss, matte, or soft-touch — changes the entire feel. Soft-touch matte lamination on a planner cover communicates premium instantly.
Paper Weight: The GSM Cheat Sheet
If you’re new to paper specs, here’s a quick reference. 80 gsm is standard copy paper — fine for text-heavy workbooks where people use ballpoint pens. 100 gsm is noticeably thicker and reduces ghosting, making it the minimum recommended weight for any planner that uses fountain pens or markers. 120 gsm is the sweet spot for premium planners — minimal show-through, substantial hand feel. 140-160 gsm borders on card stock territory and works for coloring-book-style workbooks or pages with heavy ink coverage. Going above 160 gsm significantly increases weight and shipping costs, so only do it if the product genuinely needs it.
Binding Methods — Why Wire-O Is the Go-To
If you take one thing away from this guide, let it be this: binding is the single most important production decision for workbooks and planners. Get it right, and your product is a joy to use. Get it wrong, and returns will kill your margins. Among all binding options, wire-o consistently comes out on top for this category. Here’s why.
Wire-O Binding: Lay-Flat Perfection
Wire-o binding — also called twin-loop binding or double-loop wire binding — uses a series of double metal wire loops threaded through rectangular holes punched along the binding edge. The wire starts as a C-shape, gets inserted through the holes, and is mechanically closed into a round shape. The result is a book that opens a full 360 degrees and stays flat on any page without you holding it down. For someone trying to write in a workbook while referencing an earlier page, that lay-flat behavior is everything.
3:1 vs. 2:1 Pitch — Does It Matter?
Yes, it does. The pitch refers to how many wire loops fit in one inch of binding edge. A 3:1 pitch has three holes per inch (32 holes on an 11-inch sheet) and uses smaller wires — best for thinner books up to about 120 pages. A 2:1 pitch has two holes per inch (21 holes per letter-sized sheet) and uses thicker wire — appropriate for books from roughly 110 to 260 pages. For most workbooks and planners, you’ll be in the 2:1 range because of page count. But if you’re making a slim 60-page undated quarterly planner, 3:1 pitch gives a finer, more elegant look with closer-spaced wire loops.
Other Binding Options Worth Knowing
Saddle stitching (stapling through the fold) works for thin workbooks — think 8 to 48 pages — and it’s by far the cheapest option. But anything thicker will bulge at the spine and pages will start pulling free. Spiral coil binding (plastic coil) is a budget alternative to wire-o. It’s lighter, won’t bend out of shape in a bag, and comes in colors. The downside? It looks less premium and can feel slightly flimsy compared to metal wire-o. Perfect binding (glued spine) gives a clean paperback-book look but pages won’t lay flat — a dealbreaker for any workbook where people need to write comfortably. Sewn perfect binding adds thread reinforcement and works for premium hardcover planners, but it costs significantly more and takes longer to produce.
Covers, Finishes, and Interactive Elements
This is where workbooks and planners go from commodity to brand-defining product. The cover and finishing touches are what make someone pick your product off a shelf — or click “add to cart” — instead of the competitor’s option sitting right next to it.
Cover Finishing Techniques
Lamination is the baseline — it protects the cover from scratches, moisture, and daily wear. Gloss lamination makes colors pop but shows fingerprints. Matte lamination looks sophisticated and hides smudges. Soft-touch lamination (sometimes called velvet lamination) gives that almost rubberized, premium feel that screams “expensive notebook” the moment someone picks it up. Beyond lamination, you have options like spot UV coating for selective glossy highlights, foil stamping for metallic logos and titles, embossing or debossing for raised or recessed text, and die-cutting for shaped cover windows that reveal the interior. Each technique adds cost and production time, so prioritize based on your brand positioning rather than trying to stack everything onto one cover.
Interactive Elements That Users Actually Want
Elastic closure bands are nearly standard on premium planners now — they keep pages from splaying open in bags and add a satisfying closure feel. Ribbon markers (one or two, sometimes in different colors) let users bookmark multiple sections. Back-cover pockets or expanding folders hold loose papers, receipts, and sticky notes — planners without these feel incomplete to a lot of users. Pen loops (elastic or PU leather) solve the eternal “where’s my pen” problem. Perforated pages let users tear out shopping lists or to-do pages cleanly — critical for certain workbook designs. Tab dividers with printed or die-cut tabs make section navigation fast, especially in ring-bound planners with multiple sections. Each of these elements is a separate production step, so be thoughtful about which ones genuinely add value versus which ones just add cost.
How Many Should You Order? Quantity and MOQ Breakdown
Quantity is where a lot of first-time buyers get sticker shock — or, conversely, order way too many copies and end up sitting on inventory for years. Let’s talk real numbers.
What Does MOQ Actually Look Like for China Printing?
For offset-printed workbooks and planners, most Chinese factories have an MOQ around 300 to 500 copies. At quantities below that, the setup costs — plate making, machine setup, binding die configuration — eat up any per-unit savings, and you’re usually better off with digital printing even if the unit price is higher. Some factories will do 100 copies for simpler projects, especially if you’re willing to pay a premium over the bulk rate. For fully custom OEM production with custom covers, branded packaging, and multiple finishing techniques, 500 to 1,000 copies is the range where unit economics start making sense.
The Quantity-Cost Curve
Here’s a rough picture. At 500 copies, your unit cost might be around $3.50 to $5.00 for a standard 160-page A5 wire-o bound planner with softcover. At 1,000 copies, that drops to maybe $2.20 to $3.20 per unit. At 3,000 copies, you’re looking at $1.50 to $2.20 per unit. At 5,000+ copies, the per-unit cost flattens out — you’re getting near the floor of what the materials and labor actually cost. The sweet spot for most independent brands launching a new product is 500 to 1,000 copies on the first run. It gives you enough volume to hit decent unit pricing without committing to a warehouse full of product you haven’t proven in the market yet.
Don’t Forget the Weight Factor
Planners and workbooks are heavy. A 160-page A5 planner with 120 gsm interior paper and a 300 gsm laminated cover weighs roughly 350-400 grams. A 200-page A4 workbook can easily hit 600-700 grams. Multiply that by 1,000 copies and you’re shipping 350-700 kg of books across an ocean. Freight cost is a real line item — sometimes matching or exceeding the printing cost itself — so factor it into your unit economics from the start. Sea freight from China to the US West Coast takes about 15-25 days door-to-door. Air freight is faster (5-8 days) but costs 3-5x more per kilogram.
Why China for Workbook and Planner Printing?
This question comes up in every conversation with first-time buyers. The short answer: China has the densest, most vertically integrated printing supply chain on the planet. The long answer is more nuanced and worth understanding if you’re making a serious sourcing decision.
The Cost Advantage Is Real (But It’s Not Magic)
China operates the largest commercial book printing infrastructure globally, concentrated primarily in Guangdong, Zhejiang, and Shandong provinces. The scale of production drives down material costs — paper, ink, binding wire, cover board — because factories buy these inputs by the ton, not by the roll. Labor costs for skilled binding and finishing work are lower than in North America or Western Europe. And the equipment is top-tier: Heidelberg offset presses, automatic binding lines, multi-station foil stamping machines. These aren’t small workshops. They’re industrial-scale facilities that print for major publishers worldwide.
Practically speaking, printing in China can save 30-50% on unit costs compared to domestic US or European production, even after accounting for international shipping and customs duties. A wire-o bound planner that costs $5-7 per unit to produce domestically might run $2-3 per unit from China at comparable quality and quantities. The savings become even more dramatic at higher page counts and with multiple finishing techniques — foil stamping, embossing, and die-cutting add labor cost that China’s workforce handles efficiently at scale.
The Supply Chain Advantage
China’s stationery supply chain is vertically integrated in a way that’s hard to replicate elsewhere. A factory that prints your planner can also source the elastic band, the ribbon marker, the pen loop, the shrink-wrap, and the individual poly bag — all from suppliers within a 50-kilometer radius. That integration doesn’t just save money. It saves time and reduces the coordination complexity that creates errors. Instead of managing five different vendors for five different components, you deal with one factory that manages the entire bill of materials.
Quality Concerns and How to Handle Them
Let’s address the elephant in the room. Some buyers worry about quality consistency from Chinese factories. The reality? You get the quality you spec and verify. The factories that export to the US and European markets operate under international quality standards — ISO 9001, FSC certification, Disney ILS compliance for any children’s products. The key is to request a pre-production sample (also called a PP sample or gold sample) before the full run starts, and to approve it in writing with specific notes. This sample becomes the quality benchmark for the entire production run. If the mass production doesn’t match the gold sample, you have grounds to reject the shipment. Most reputable factories take this process seriously because reprints and returns cost them far more than getting it right the first time.
Common Mistakes to Avoid
I’ve seen the same mistakes trip up buyers again and again. Here are the ones worth knowing before you send your first RFQ.
Skipping the Physical Sample
Digital proofs on a screen tell you nothing about paper feel, binding tension, cover texture, or how the elastic band actually functions. Always, always get a physical pre-production sample before signing off on a full production run. Yes, it adds two to three weeks to your timeline and might cost $50-150 including courier shipping. It’s the cheapest insurance you’ll ever buy against a container full of product you can’t sell.
Over-Specifying for the Wrong Reasons
Not every planner needs 160 gsm paper. Not every workbook needs foil-stamped covers. Not every binding needs to be wire-o. Match your specs to your use case and price point. A $9.99 workbook sold on Amazon has very different margin requirements than a $45 executive planner sold through boutique stationery stores. Know which one you’re making, and spec accordingly from the start.
Ignoring the User’s Writing Experience
This sounds obvious, but I can’t count how many times I’ve seen aesthetically beautiful planners printed on paper that fountain pen ink bleeds straight through. If your product is meant to be written in — and both workbooks and planners are — the paper-and-pen experience is your product. Test your paper stock with the actual writing instruments your users will use. Ballpoint. Gel pen. Fountain pen. Pencil. Highlighter. Test them all on both sides of the page before finalizing your paper spec.
Forgetting About Packaging and Fulfillment
Your product doesn’t end at the factory door. How does it arrive at the customer’s doorstep? If you’re selling on Amazon FBA, your planner needs to survive Amazon’s warehouse handling, which is not gentle. Poly-bagging individual units, adding corner protectors, and using sturdy master cartons with proper weight distribution aren’t optional extras — they’re the difference between a 2% return rate and a 15% return rate. Discuss packaging requirements with your factory before production starts, not after.
Putting It All Together
Sourcing workbook printing china and planner printing china services doesn’t have to be overwhelming. The factories exist. The capabilities are there. The supply chain is mature. What separates a successful project from a painful one is the quality of your spec — how clearly you communicate size, paper, binding, cover finish, interactive elements, quantity, and packaging requirements before production begins.
Start with a clear brief. Get a physical sample. Test your paper with real writing instruments. Approve the gold sample in writing. And build shipping costs into your unit economics from day one. Do those things, and you’ll get a product that your customers genuinely love using — which, at the end of the day, is the only metric that matters.