Why Some Prints Feel Expensive Before You Even Read a Word
Walk into a bookstore and pick up two hardcovers with similar designs. One catches the light differently. Your fingers slow down on certain parts of the jacket. Without consciously deciding, your brain has already tagged that book as the more premium option. That instant judgment is not magic. It is a finishing technique called spot UV printing, and it has been shaping how people perceive printed products for nearly two decades.
Most buyers cannot name the process, but they react to it. A glossy logo floating above a matte background. A title that catches light as the page tilts. These moments happen because someone on the production side understood that contrast is not just a design principle but a psychological trigger. When done well, spot UV turns a flat sheet into something people want to touch and keep.
What Is Spot UV Printing?
Spot UV printing, sometimes called UV spot coating or spot gloss printing, is a finishing technique that cures a clear, high-gloss varnish onto specific areas of a printed surface using ultraviolet light. Unlike traditional coating methods that blanket the entire sheet, spot UV applies the treatment selectively. The result is a sharp visual and tactile contrast between glossy coated sections and untreated matte areas.
The chemistry behind it is straightforward. A liquid UV varnish is applied to preselected zones, then passes under high-intensity UV lamps that trigger a photochemical reaction. The coating hardens almost instantly into a durable film sitting slightly raised above the paper. In practice, roughly four out of five spot UV projects start with a matte lamination base. The matte substrate absorbs light and feels soft, which makes the glossy UV sections pop dramatically. Without that dull background to play against, a glossy spot loses half its impact.
How Spot UV Works: The Step-by-Step Process
Every step in the spot UV process carries decisions that affect the final result. Here is how a typical job moves through a professional print shop.
Step 1: Design and File Preparation
The designer creates a separate mask layer marking exactly which areas will receive the UV coating. This layer uses solid black shapes on a white background. Every black pixel tells the UV machine where to lay down varnish. Getting this mask right is the single most important factor in the entire process. A sloppy mask means misregistered coating, and misregistration sends the job to the recycling bin.
Step 2: Base Printing
The base artwork is printed first, usually via offset lithography because it handles the tight registration tolerances that spot UV demands. Digital presses have improved, but operators must understand how their specific toner or ink set interacts with UV varnish. Some digital inks repel UV coating, and discovering that on press day is a lesson nobody wants to learn twice.
Step 3: Surface Preparation and Lamination
Before UV varnish goes on, most projects run through a laminator for a matte film layer. The lamination seals the ink, strengthens the sheet, and creates maximum contrast with the glossy coating. Some jobs skip lamination on uncoated stocks where natural paper texture is part of the aesthetic, but this changes how the UV sits on the surface.
Step 4: UV Coating Application
Prepared sheets feed into a UV coating machine that applies clear liquid varnish through a screen or roller system guided by the mask file. Screen application allows a thicker, more pronounced raised effect. Roller-based systems are faster for longer runs. Coating thickness is measured in microns, and a five-micron difference changes how the finish feels. Consistent thickness separates professional shops from the rest.
Step 5: UV Curing and Quality Control
The coated sheet passes under banks of high-intensity ultraviolet lamps, triggering cross-linking in the varnish molecules. The liquid transforms into a solid, durable film in a fraction of a second. After curing, every sheet gets inspected under angled light for registration accuracy and coating consistency. Sheets that pass move on to cutting, scoring, and folding. Some projects add secondary finishing like foil stamping on top of cured UV areas for a layered premium effect.
Key Benefits of Spot UV
Print buyers choose spot UV for reasons that go beyond aesthetics. The technique delivers measurable advantages across several dimensions.
Visual Impact That Commands Attention
A spot UV finish catches ambient light and reflects it back as a controlled highlight. In a retail environment where dozens of products compete for attention, that reflective contrast can mean the difference between picked up and passed over. Brand managers at cosmetics companies have tracked sales data that confirms matte-only packaging underperforms against spot UV alternatives. The gloss signals premium without shouting.
Tactile Engagement and Perceived Value
People judge quality through touch before they process it through sight. The raised, glossy texture that spot UV creates signals quality to the fingertips. When someone runs a finger over a spot UV business card and feels the name lift off the surface, they form an impression about the person who handed it to them. That tactile moment is worth more than any tagline.
Durability That Extends Product Life
UV-cured varnish forms a hard, scratch-resistant film that protects the printed surface underneath. Book covers treated with spot UV hold up better against shelf wear, repeated handling, and the friction of bags. The coating resists fingerprint smudges, which matters for menus, presentation folders, and anything passed from hand to hand. Matte lamination provides some protection, but the UV layer adds a second line of defense on the areas that need it most.
Cost Efficiency Through Selective Application
Because spot UV applies coating only to chosen areas, it uses far less material than full-coverage treatments. A full foil stamp costs significantly more than a strategically placed UV highlight, yet for many designs the visual impact is comparable. Printers who understand their finishing options can steer clients toward the right technique for their budget without sacrificing the premium look.
Popular Applications of Spot UV
Spot UV appears across a wide range of printed products, but certain categories benefit more than others.
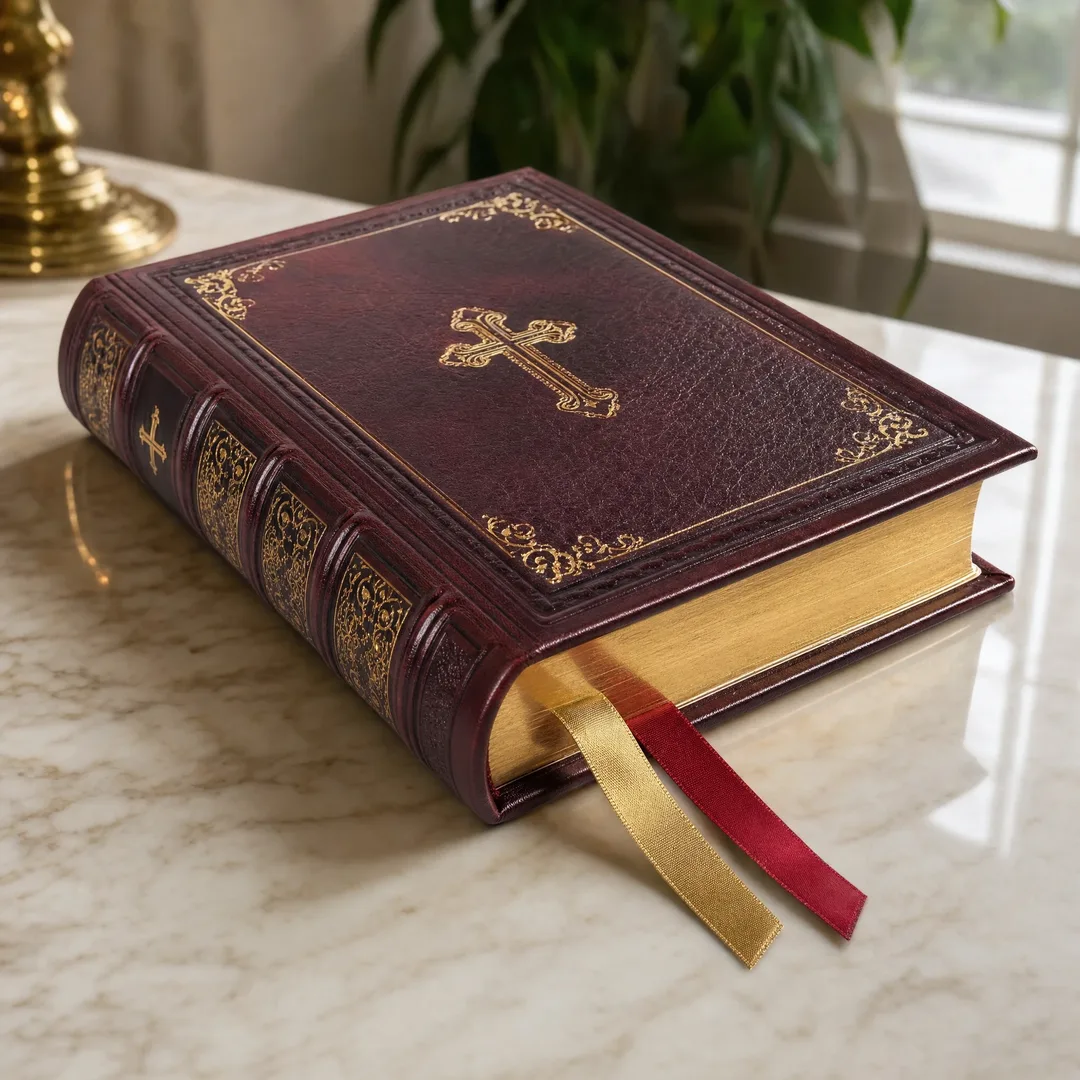
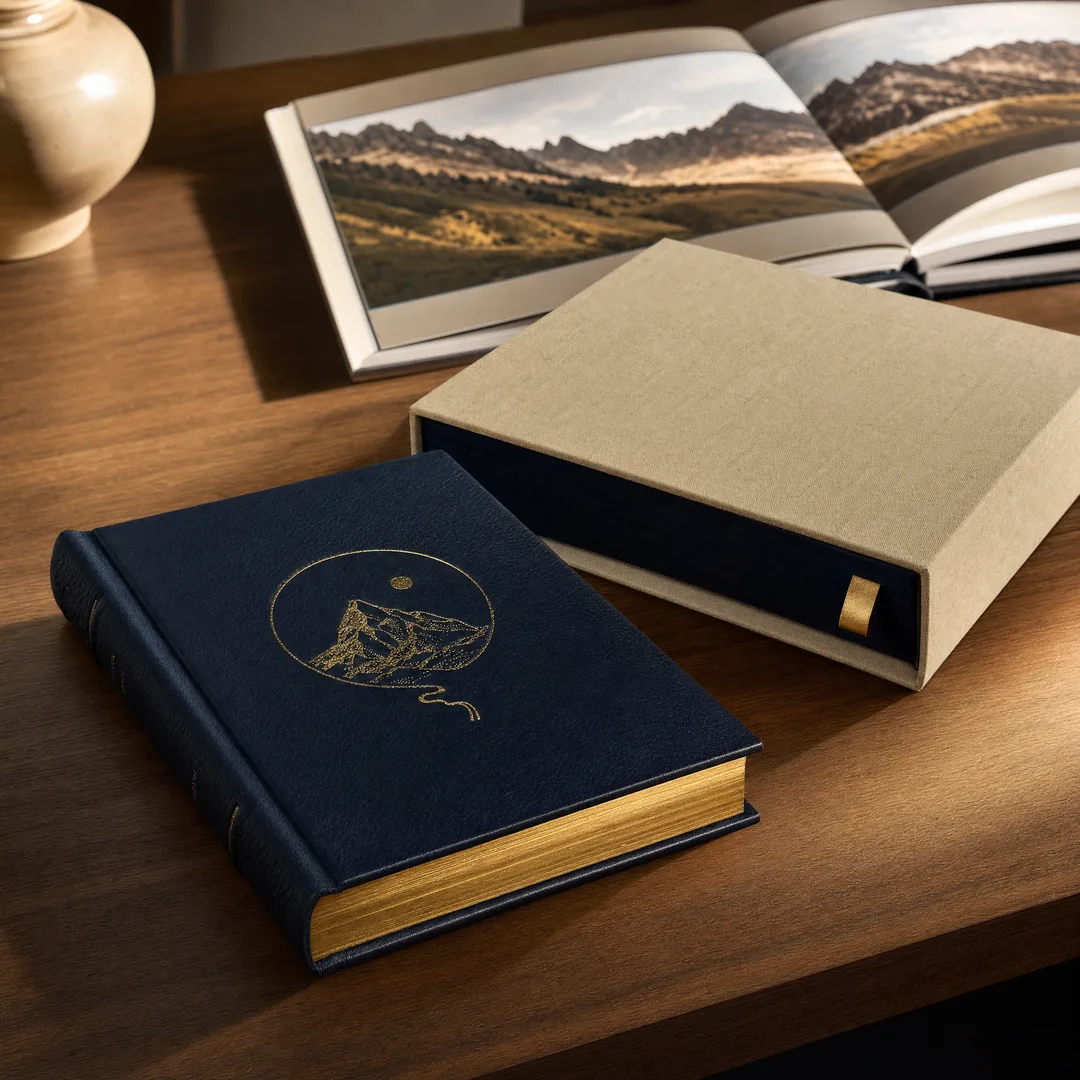
Book Covers and Dust Jackets
Book publishing is probably the largest market for spot UV. A matte-laminated paperback cover with the title in glossy UV looks significantly more expensive than a standard glossy cover. Literary fiction pairs subtle spot UV with uncoated stock. Thrillers and business books tend toward bolder applications with larger coated areas. In every case, the goal is making the book feel worth its price before the reader opens it.
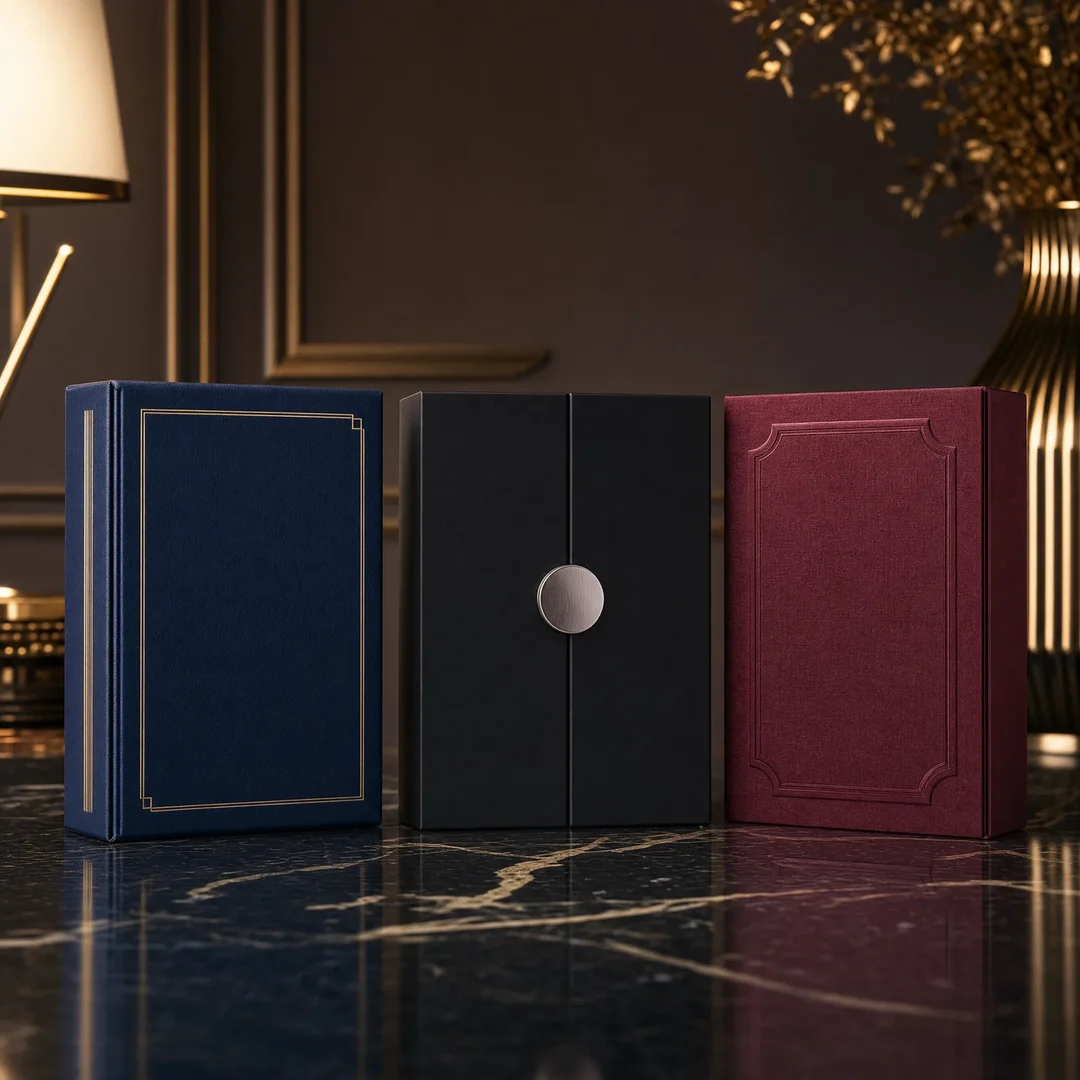
Packaging and Labels
Consumer packaged goods rely on spot UV to differentiate premium lines from value lines. A wine label with spot UV on the vineyard name communicates craft and care. Skincare boxes use it to highlight ingredient callouts while keeping the rest matte. Packaging designers understand that shelf presence correlates directly with purchase decisions, and spot UV delivers that presence without the cost of a structural redesign.
Business Cards and Stationery
A business card has about three seconds to make an impression. Spot UV turns those three seconds into a memorable experience. A matte black card with the name in glossy UV became a cliché in creative industries because it works. The key is restraint. Coating just the logo mark or a single design element shows more taste than coating everything. Law firms, real estate agents, and consultants gravitate toward this finish to signal attention to detail.
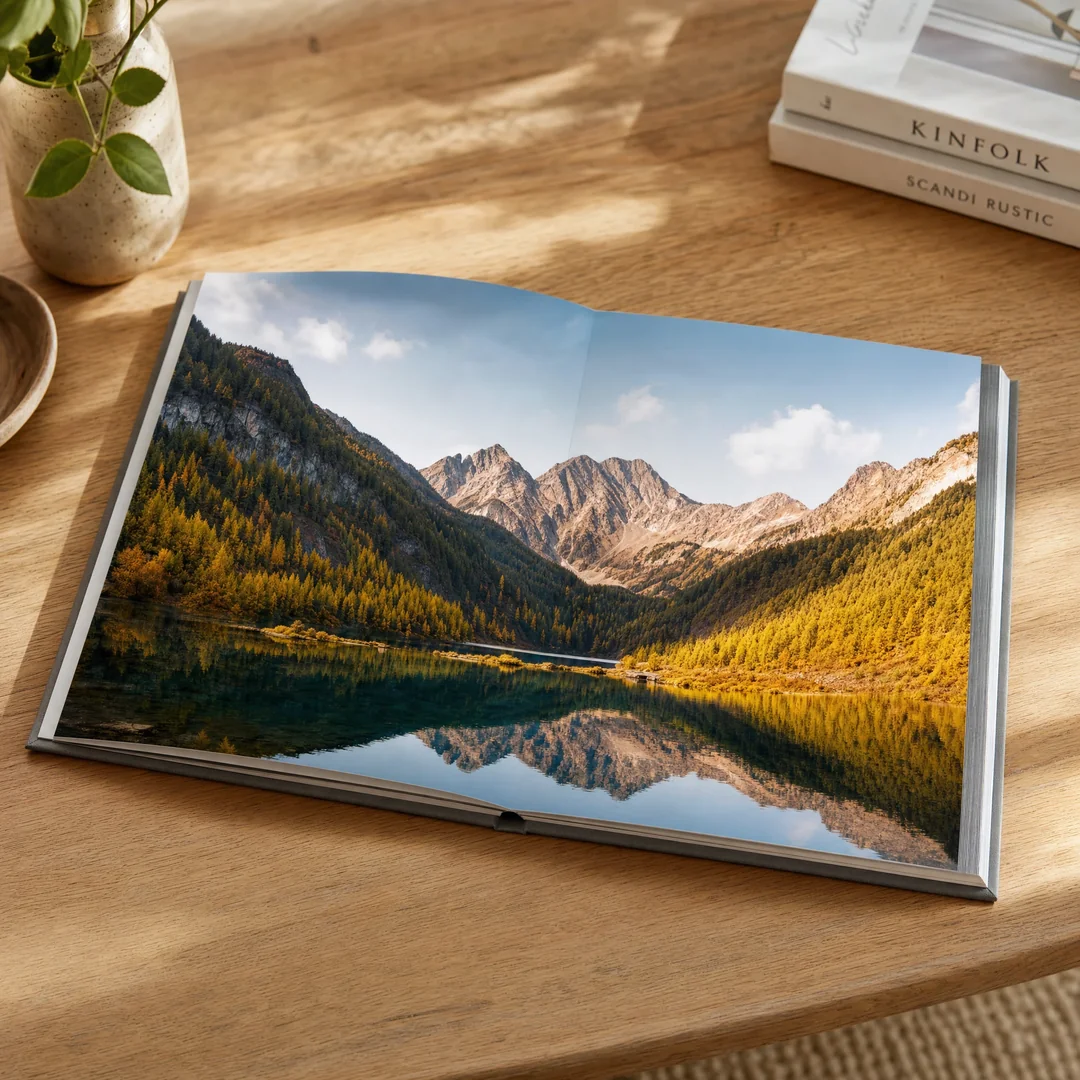
Marketing Materials and Greeting Cards
Brochures, catalogs, and postcards all benefit from selective UV. A product catalog with spot UV on product images creates a browsing experience that feels like a luxury lookbook. Direct mail pieces with spot UV highlights consistently outperform fully matte pieces in response testing. The stationery market has embraced the technique for wedding invitations and premium greeting cards, where a floral illustration rendered in spot UV on matte cardstock reads as handcrafted.
Spot UV vs. Spot Varnish: What is the Difference?
Print buyers sometimes use spot UV and spot varnish interchangeably, but they are not the same thing. Spot varnish typically refers to a water-based or oil-based coating that dries through evaporation. The finish tends toward a subtle sheen rather than a high-gloss pop. Varnishes come in matte, satin, or gloss formulations, but none achieve the mirror-like reflectivity or raised, dimensional quality of UV-cured coatings. Run your finger over a spot varnish area and you feel paper. Over a spot UV area, you feel a distinct ridge.
Spot UV cures under ultraviolet light through photochemical cross-linking, producing a harder, more durable surface that forms instantly. For projects needing maximum contrast, durability, and a pronounced tactile effect, spot UV wins. Spot varnish has its place in subtler, cost-sensitive applications, but for premium finishing, UV is the standard.
Spot UV vs. Metallic Finishes: Choosing the Right Effect
Another common decision is whether to use spot UV or a metallic finish like foil stamping or metallic ink. Both add visual interest, but they serve different purposes.
Metallic finishes introduce a new color element. Gold, silver, and holographic foils reflect light with a colored shimmer that clear UV varnish cannot replicate. Foil stamping requires a custom metal die for each design, adding upfront tooling charges and longer lead times. Metallic inks offer a more affordable alternative but lack the reflective intensity of foil.
Spot UV works with existing printed colors rather than introducing new ones. The gloss layer amplifies whatever sits underneath, making it ideal for highlighting text, logos, and photographic elements without altering their color. It also pairs beautifully with foil stamping when the budget allows. Used alone, spot UV delivers premium impact at a lower cost and with fewer production steps than any metallic alternative.
Design File Preparation Guide
Designers preparing files for spot UV need to follow specific guidelines to avoid expensive rework. Here is what printers actually need.
Create a Dedicated Spot UV Layer
Your artwork file should contain a separate layer or channel labeled clearly, such as SPOT_UV. In Illustrator, create a new named layer for mask shapes. In InDesign, use a dedicated spot color swatch. In Photoshop, work with an alpha channel. Printers need to isolate the UV mask without guessing which layer controls what.
Use Solid Black for Mask Areas
The UV mask layer should contain only 100% black shapes on a clean background. Avoid grayscale values, gradients, and transparency. The coating equipment reads solid black as “coat here” and white as “skip.” Anything in between produces unpredictable results. If your design calls for a graduated UV effect, talk to the printer before committing. Most shops cannot handle it reliably.
Mind the Registration Tolerance
Most shops guarantee spot UV alignment within half a millimeter to one millimeter. Design your mask shapes with this tolerance in mind. Avoid hairline borders and details thinner than two points, because the coating will either overshoot and look sloppy or miss entirely.
Keep Shapes Clean and Non-Overlapping
Where two UV shapes overlap in the mask, the coating machine may double-apply varnish and create an uneven surface. Boolean-unioned, non-overlapping shapes produce the most consistent results. Provide vector files at the highest resolution possible. Low-resolution raster masks create jagged coating edges visible under angled light. When vectors are not possible, provide raster masks at a minimum of 1200 DPI at final output size.
Common Mistakes and Pro Tips
After seeing thousands of spot UV jobs go through production, certain patterns emerge. Here are the mistakes that cost money, plus the practices that separate good results from great ones.
Mistake: Designing Without the Printer’s Input
The most expensive error in spot UV work is designing without consulting the print shop. Every press has different registration tolerances and coating thickness capabilities. A design that works on one shop’s equipment may fail on another’s. Send files early and ask for a physical proof with actual UV coating applied, not just a digital mockup. The extra lead time costs nothing compared to reprinting a botched run.
Pro Tip: Test on the Actual Substrate
UV varnish behaves differently on coated versus uncoated stock, on dark ink coverage versus light, and on different lamination films. A design that looks stunning on white-coated stock may look muted on kraft or dark substrates. Request substrate samples with UV applied to your design before committing to a full production run. Most printers provide these for a small fee or free for established accounts.
Mistake: Overusing the Effect
Spot UV works because of contrast. If you coat 70 percent of the surface, the uncoated 30 percent becomes the focal point. The technique is most effective when applied sparingly to one or two key design elements. A common rookie mistake is coating every headline, logo variation, and decorative element. The result reads as noise rather than emphasis. Pick one element to highlight and leave the rest alone.
Pro Tip: Combine Spot UV With Other Finishes
Some of the most memorable printed pieces layer multiple techniques. A matte-laminated cover with spot UV on the title, foil stamping on the author name, and debossing on a background pattern creates three distinct levels of depth. Each technique plays a different role in the visual hierarchy. Talk to a printer with multi-finish experience. The order of operations matters more than you might think.
Mistake: Ignoring the Back Side
Spot UV coating on one side of a sheet can affect the other side, especially on thinner stocks. The coating adds thickness and can cause curling if tension is not balanced. For double-sided pieces, discuss coating placement with the printer. For single-sided book covers on stocks above 250 GSM, the effect is usually negligible, but mention it during specification anyway.
Is Spot UV Right for Your Next Project?
Spot UV printing is not the answer for every job. It adds cost and a production step, and on certain designs the effect can feel forced. But when the goal is to signal quality, create tactile engagement, and make a piece stand out from standard-printed materials, few techniques deliver comparable impact for the investment.
The decision comes down to two questions. Does the design have clear focal elements that deserve emphasis? A strong logo, a title treatment, or a photographic detail all make good candidates. Second, does the target audience notice production quality? A client receiving a proposal, a prospect holding your business card, or a customer unwrapping a premium product all register the difference, even if they cannot name it.
If you are considering spot UV for an upcoming project, the smartest move is to see and feel a sample before committing. Looking at photos online cannot substitute for holding a finished piece. At EcoPrinting, we keep a library of spot UV samples showing different substrates, coating thicknesses, and design approaches. We are happy to send a free sample kit so you can experience the effect firsthand. Just reach out through our contact page and mention your project type. We will put together relevant samples and get them in the mail. No hard sell, no pressure. Good printing sells itself once you feel it.