Why Shape Sells — And Why Rectangles Leave Money on the Table
Walk down any retail aisle. Your eye stops at the package that breaks the grid. The hexagonal tea box. The book with a cloud-shaped edge. The business card with a rounded die-cut window. These products cost more than their rectangular neighbors — and people pay the difference without hesitation.
Shape triggers something primal in buyers. A custom contour signals care, craftsmanship, and brand confidence. It whispers: this product is different . For print buyers and packaging managers, die cutting is the tool that turns that psychological edge into a production reality. Yet many procurement teams default to standard rectangles simply because they have never seen the full picture of what die cutting can deliver — or how cost-effective it becomes at scale.
This guide covers everything a print buyer needs to evaluate die cutting for their next project. We are talking real production knowledge: how the process works, which die type fits your run size, what materials handle the cut cleanly, and how to prepare artwork so your first proof matches your expectation. No fluff. Just the details that matter when your budget and timeline are on the line.
What Is Die Cutting?
Die cutting is a fabrication process that uses a shaped blade — called a die — to cut, score, or perforate flat material into a specific outline. Think of it as a cookie cutter for industrial materials. The die presses into paper, cardstock, plastic, or fabric and slices out the finished shape in a single stroke. For high-volume runs, that stroke repeats thousands of times per hour with near-identical results.
The magic is in the die itself. A flatbed die starts as a plywood board with laser-cut slots. Sharpened steel rules are bent to match the design and hammered into those slots. Ejection rubber pads sit next to the blades to push the cut piece free after each press cycle. For rotary setups, the cutting pattern is engraved or etched onto a metal cylinder that spins continuously against the material web.
Three Common Die Types
Steel Rule Dies (SRD). The workhorse of packaging and print. Steel blades are embedded in a flat plywood base. These dies handle paper, cardstock, corrugated board, and thin plastics. Production cost is moderate. Tooling lasts 50,000 to 200,000 impressions depending on material abrasiveness. Best for short to medium runs where upfront tooling cost matters.
Solid Rotary Dies. The cutting pattern is machined directly into a solid steel cylinder. No plywood base. No bent rules. Just precision-ground metal. These dies survive millions of impressions and deliver tighter tolerances than flatbed alternatives. The trade-off? Tooling costs 3× to 5× more upfront. But for labels, folding cartons, and any application running hundreds of thousands of units, the per-piece cost plummets.
Laser Cutting (No Physical Die). A CO₂ laser beam traces the cut path directly onto the material. No tooling. No setup time. You upload a vector file and the machine cuts. This approach shines for prototypes, samples, and ultra-short runs — say 50 to 500 pieces. The beam width is about 0.1mm, so intricate detail is possible. The downside? Speed. Laser cutting processes one piece at a time and burns edges on certain materials, leaving a slight discoloration that some brands reject.
Four Types of Die Cutting — And When Each Makes Sense
Not all die cutting is the same process. The right method depends on your run length, material, tolerance requirements, and budget. Here is how the four main types stack up.
Method
How It Works
Best For
Run Size
Tooling Cost
Precision
Flatbed Hydraulic press pushes a flat steel-rule die down onto sheet material
Cartons, books, hang tags, thick board
1,000–100,000
$$
★★★☆☆
Rotary Cylindrical die spins against a continuous material web at high speed
Labels, stickers, folding cartons, flexible packaging
50,000–1,000,000+
$$$$
★★★★★
Laser CO₂ laser beam vaporizes material along a vector path; no physical die
Prototypes, samples, short runs, delicate fabrics
1–5,000
$ (no die)
★★★★☆
Digital Flatbed CNC-controlled oscillating knife or drag blade cuts sheet material on a vacuum table
Sampling, personalized runs, kiss-cut stickers
1–500
$ (no die)
★★★★☆
Flatbed wins on material thickness. You can cut 3mm greyboard, corrugated sheets, and rigid plastics that rotary setups cannot touch. Rotary wins on speed — a single cylinder can process 150 meters of material per minute. Laser and digital flatbed win on flexibility; you change the design file, not the tooling, and you are cutting again in minutes.
One practical rule from the shop floor: if your annual volume exceeds 20,000 units of the same shape, the rotary die pays for itself inside two production runs. Below that, steel-rule flatbed usually offers the best cost-to-quality ratio.
7 Benefits That Make Die Cutting Worth It
Die cutting is not just about making things look different. The process delivers measurable advantages across production, branding, and cost. Here are the seven that matter most for print procurement.
1. Complete Shape Freedom
Standard printing gives you rectangles. Die cutting gives you any silhouette you can draw in vector software. Rounded corners, gear-shaped edges, integrated handles, tear-off panels, pop-up elements — all produced in the same press cycle that cuts the outline. This freedom lets packaging designers integrate structural function directly into the form. A single die-cut sheet can fold into a complex display stand without glue or assembly labor.
2. Visual Impact That Stops the Scroll
A shaped business card gets kept. A die-cut window on a carton sells the product inside without a single word of copy. Irregular contours create what marketers call “pattern interrupt” — the brain registers the shape before it processes color or text. In category after category, shaped packaging outperforms rectangular equivalents in shelf-test studies. One packaging trade survey found that 72% of consumers say packaging design influences their purchase decision, and custom shape is the element they notice first.
3. Precision at Production Speed
Modern rotary dies hold tolerances of ±0.1mm at 10,000 impressions per hour. That means the 50,000th piece matches the first one with near-photographic fidelity. For products that stack, nest, or slot together — think puzzle pieces, interlocking display components, or multi-part packaging inserts — this consistency is non-negotiable. Loose tolerances cause assembly failures downstream. Die cutting eliminates that variable.
4. Efficiency Gains Across the Line
Die cutting combines what would otherwise be multiple finishing steps. In one press cycle, a flatbed die can simultaneously cut the outer contour, crease fold lines, perforate tear strips, and punch registration holes. Without die cutting, each of those operations requires a separate machine pass. Fewer passes mean faster turnaround, lower labor cost, and fewer chances for registration drift between operations.
5. Material Versatility
Paper, cardstock, corrugated board, polypropylene, PET plastic, adhesive vinyl, magnetic sheet, felt, leather, foam, rubber, thin wood veneer — the same steel-rule die can cut all of these as long as the material thickness stays within the die’s cutting depth. This versatility means a packaging manufacturer can run a single die across multiple product SKUs in different substrates. The die investment amortizes across a broader product range.
6. Durability That Delivers
A well-made rotary die in hardened tool steel survives 5 million impressions before requiring re-sharpening. Even a standard steel-rule flatbed die handles 100,000 impressions on paperboard with proper maintenance. Compare that to digital print finishing, where consumable blades need replacement every few thousand cycles. For long-term packaging programs, this durability translates to predictable, declining per-unit costs year over year.
7. Cost at Scale — The Numbers Flip
At 500 units, digital cutting wins on cost because there is no tooling to amortize. At 5,000 units, steel-rule flatbed becomes competitive. At 50,000 units and above, rotary die cutting delivers the lowest per-piece cost by a wide margin. The tooling expense — $500 to $3,000 for a typical flatbed die — spreads across the entire run. At 50,000 units, a $1,500 die adds $0.03 per piece. The die essentially becomes free after the first production run. Smart procurement teams treat die tooling as a one-time capital expense, not a recurring cost.
Popular Applications — Where Die Cutting Shows Up Every Day
Die cutting touches far more products than most buyers realize. Here is where the process delivers the most value across print and packaging categories.
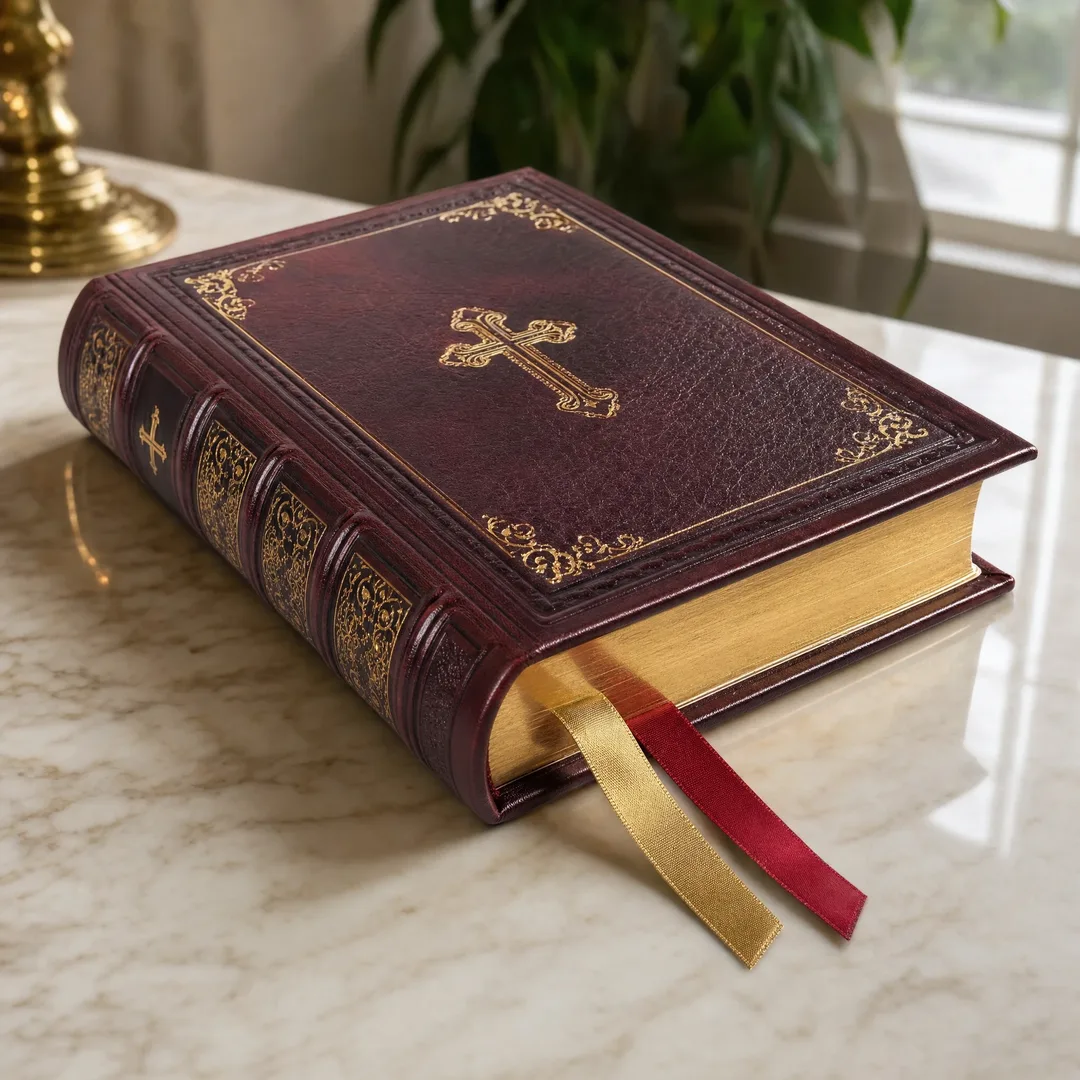
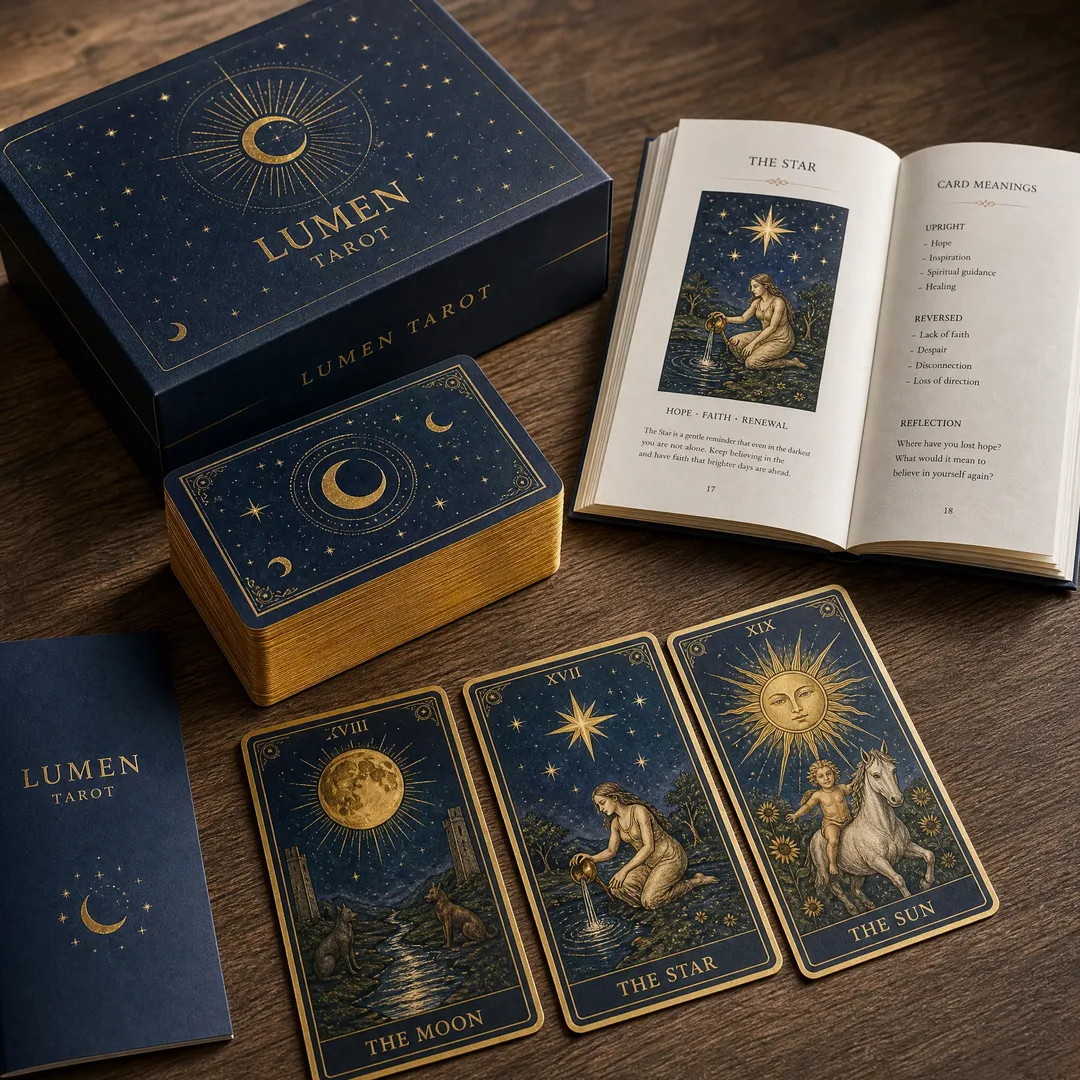
Children’s Books
Board books with shaped pages, pop-up elements, finger-puppet cutouts, and jigsaw-style interlocking spreads all rely on die cutting. The shapes serve a developmental purpose — they help toddlers grip pages, track contours with their fingers, and build fine motor skills. From a production standpoint, children’s book die cutting demands tight registration because the printed artwork must align precisely with the cut edge across every copy.
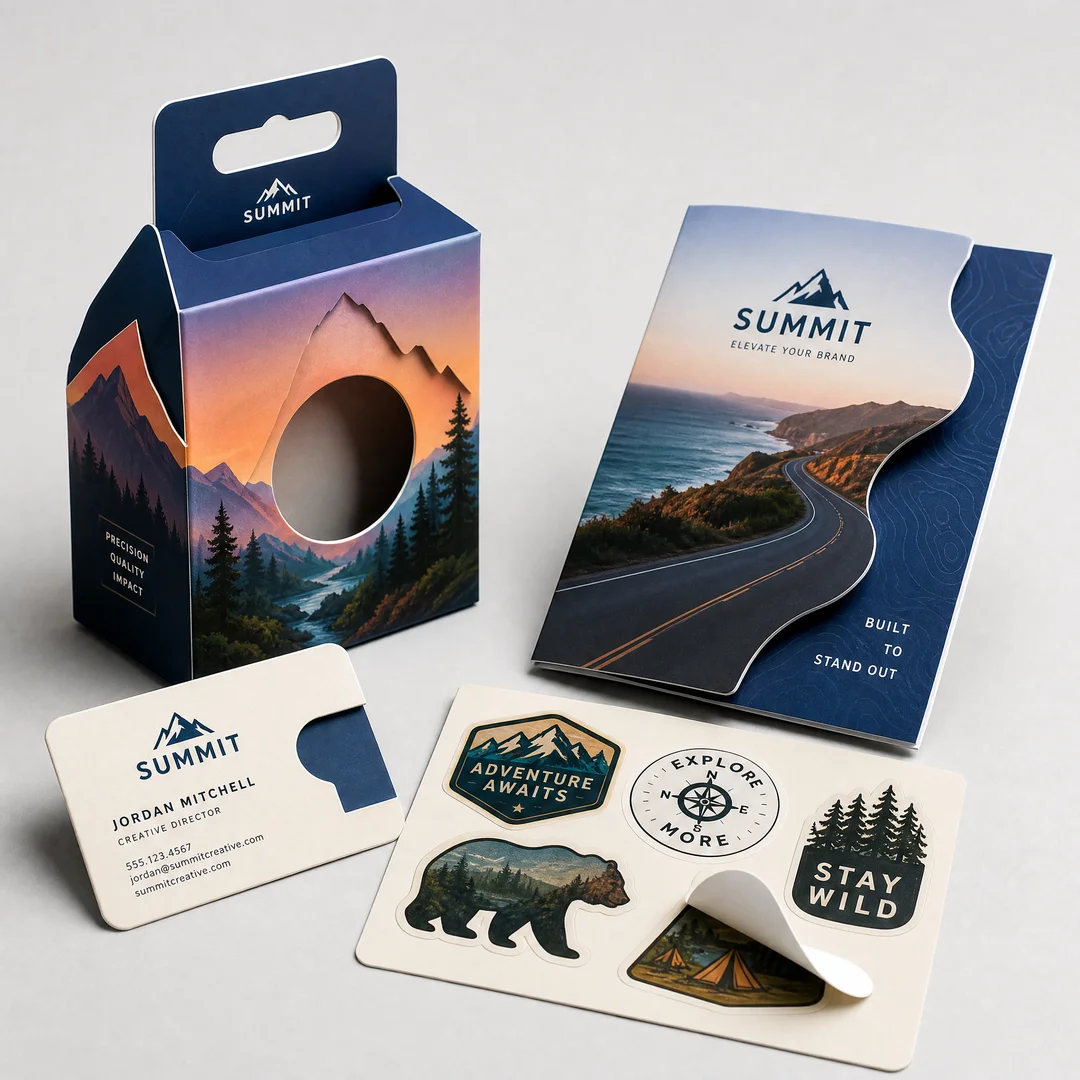
Stickers and Labels
Kiss-cut sticker sheets — where the sticker shape is cut through the vinyl layer but the backing sheet stays intact — are pure die cutting. So are custom-shaped product labels that follow a brand logo contour, wrap around curved bottle surfaces, or incorporate peel-away reveal panels. Rotary die cutting dominates this category because label runs routinely exceed 100,000 units.
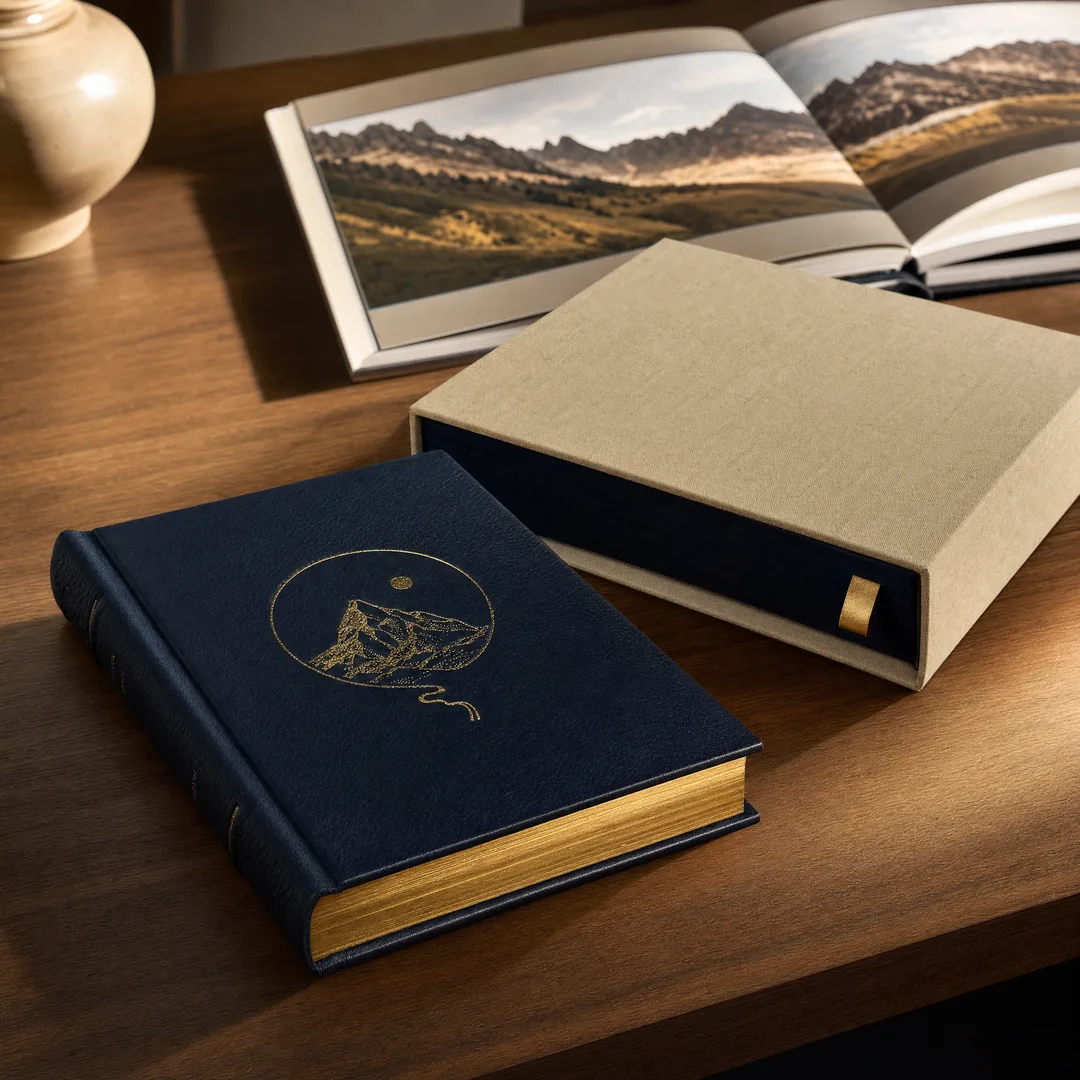
Greeting Cards and Invitations
A die-cut wedding invitation with a lace-pattern edge, a birthday card with a pop-up centerpiece, or a corporate holiday card with a laser-cut snowflake overlay — these premium applications justify their higher price point through tactility. The recipient feels the craftsmanship. This category often combines die cutting with other finishing techniques like foil stamping or embossing for layered luxury effects.
Brochures and Flyers
Die-cut brochures break the A4 rectangle habit. Rounded corners, shaped cover flaps, integrated business card slots, and multi-fold panels with staggered edges all use die cutting to differentiate. For trade show collateral, a custom shape is the difference between being pocketed and being binned.
Packaging
This is the category that consumes the most die-cut output by volume. Folding cartons, corrugated shipping boxes, rigid gift boxes, blister pack cards, display stands, and shelf-ready retail packaging all depend on die cutting for their structure. The die defines not just the outer shape but the internal fold lines, locking tabs, hang holes, and tear strips that make the box functional.
Bookmarks, Puzzles, and Specialty Items
Custom-shaped bookmarks with tassel holes, jigsaw puzzles with interlocking pieces cut from printed board, promotional fans, door hangers, and other specialty print products all start as die-cut blanks. These items are often impulse purchases or promotional giveaways, which means the production cost needs to stay low — and die cutting delivers that efficiency at volume.
Material Selection — What Cuts Cleanly and What Causes Headaches
Material choice affects cut quality more than any other variable. Some substrates slice like butter. Others chip, fray, or gum up the die within a few thousand impressions. Here is what to expect from the most common materials.
Paper and Cardstock
The die-cutting sweet spot. Coated papers (gloss, matte, silk) cut cleanly with minimal edge fiber. Uncoated papers and textured stocks generate more dust and can leave a slightly fuzzy edge — acceptable for craft or rustic aesthetics but not for luxury brands. Paper weight matters: anything below 120gsm may tear rather than cut if the die is dull. Above 350gsm, you need higher tonnage on the press to punch through cleanly.
Corrugated Board
Die cutting corrugated requires a taller steel rule — typically 23.8mm versus the standard 23.3mm — to accommodate the flute height. The fluting direction also affects cut quality. Cutting parallel to the flutes produces cleaner edges than cutting perpendicular. Expect some crush along the cut line; this is inherent to the process and typically hidden inside fold seams on the finished box.
Plastic Sheets
PET, PVC, and polypropylene sheets cut well with steel-rule dies up to about 0.5mm thickness. Thicker plastics require higher tonnage and faster blade wear. Laser cutting works better for thicker plastic sheets but leaves a heat-affected edge — slightly melted, slightly discolored — that may or may not be acceptable depending on the application. Consult your printer before committing to plastic substrates on a first-time die-cut project.
Fabric and Textiles
Felt, non-woven polypropylene, thin leather, and some synthetic fabrics can be die-cut in stacks. The key is blade sharpness and press pressure. A dull blade on fabric creates a ragged, stringy edge. Laser cutting eliminates the blade-wear problem and simultaneously seals synthetic fabric edges to prevent fraying. For natural fibers like cotton or linen, steel-rule remains the practical choice.
Specialty Materials
Magnetic sheet, cork, EVA foam, rubber gasket material, thin wood veneer, and adhesive-backed films all fall into the die-cut category for specific applications. Each has its own pressure, speed, and blade-life profile. The universal rule: test a sample run before committing to full production. Material behavior under a die is not always predictable from spec sheets alone.
The Die Cutting Process — Step by Step
Understanding the workflow helps you spot where delays hide and where quality problems originate. Here is the full chain from concept to finished piece.
Step 1 — Design and Dieline Creation
Everything starts with a vector dieline — a digital blueprint showing exactly where cuts, creases, and perforations fall on the flat sheet. Designers create dielines in Adobe Illustrator or CAD software, using standard line conventions: solid lines for cuts, dashed lines for creases, and dotted lines for perforations. The dieline must account for material thickness at every fold point. A crease that works on 300gsm cardstock may crack on 400gsm if the gap allowance is not adjusted.
Step 2 — Die Fabrication
For flatbed dies, a CNC laser cutter burns the rule slots into a plywood board following the dieline data. Steel rules are bent to shape on automated bending machines, then hammered into the slots. Ejection rubber pads are glued alongside each cutting rule. The completed die is mounted onto the press. For rotary dies, the pattern is either chemically etched into a thin flexible steel sheet (flexible die) or machined directly into a solid steel cylinder (solid rotary die). Flexible dies cost less but wear faster; solid dies are the premium option.
Step 3 — Material Preparation
Material is cut to sheet size for flatbed presses or loaded as a continuous roll for rotary lines. Sheet-fed jobs require precise grain-direction alignment — paper cut against the grain may tear along the crease. Temperature and humidity in the press room also matter. Paper that is too dry becomes brittle; too moist and it stretches, throwing off registration between print and cut.
Step 4 — Cutting and Creasing
The press closes. The die makes contact. In a fraction of a second, cutting rules slice through the material while creasing rules compress fold lines without cutting. The ejection rubber pushes the cut piece free of the die. On rotary lines, this action is continuous — the material web never stops moving. On flatbed presses, the sheet advances after each stroke. The cutting depth is calibrated to cut through the material completely without scoring the press bed underneath. This calibration is measured in microns and adjusted per substrate.
Step 5 — Stripping and Finishing
The waste material surrounding the cut pieces — called the matrix or weed — must be stripped away. Large operations use automated stripping stations with pins that punch the waste free. Smaller shops strip by hand. After stripping, pieces move to secondary finishing: folding, gluing, counting, and packing. For packaging, automated folder-gluer lines can process die-cut blanks into finished cartons at speeds exceeding 100,000 units per shift.
Step 6 — Quality Control
QC checks three things on every die-cut run: dimensional accuracy against the dieline spec, edge quality (no tears, fuzz, or crush), and crease integrity (folds cleanly without cracking). Sampling rate depends on run size and tolerance requirements. High-precision jobs — medical packaging, for instance — may sample every 500 pieces. Standard commercial work typically checks every 2,000 to 5,000 pieces. Dies are inspected for blade wear, rule shift, and rubber degradation at the end of each production run.
Die Cutting vs. Other Finishing Techniques
Die cutting is one tool in the finishing toolbox. Knowing how it compares to related techniques helps you pick the right combination for your project.
Technique
What It Does
Physical Effect
Cost Level
Best Combined With
Die Cutting Cuts through material to create a shape or opening
Changes the outline and structure
$$
Any of the below
Embossing / Debossing Presses a raised (emboss) or recessed (deboss) pattern into the surface without cutting
Adds texture and depth to a defined area
$$$
Foil stamping, die-cut windows
Foil Stamping Transfers metallic or pigment foil onto the surface using heat and pressure
Adds reflective or colored metallic finish to specific areas
$$$
Embossing, die-cut edges
Laser Cutting Uses a focused laser beam to cut or engrave material
Cuts shapes without a physical die; can also engrave surface patterns
$$ (no tooling)
Often used instead of die for prototypes
UV Coating Applies a liquid coating cured by ultraviolet light for gloss or matte finish
Adds surface sheen and scuff resistance; no structural change
$
Spot UV on die-cut cartons for contrast
The most striking packaging often layers multiple techniques. A die-cut window carton with foil-stamped logo and spot UV on the brand name costs more per unit — but the shelf presence justifies the investment for premium product categories. The key is understanding that each technique adds a separate production step (and cost). Plan the budget accordingly.
Design and File Preparation — Getting Artwork Production-Ready
The most common cause of delayed die-cut jobs is artwork that looks perfect on screen but breaks in production. These rules prevent that.
Bleed: Always 3mm Minimum
Extend all background colors, images, and patterns at least 3mm beyond the cut line. Die cutting has a mechanical tolerance — usually ±0.5mm — and the bleed absorbs that variation. Without bleed, even a half-millimeter shift creates an unsightly white sliver along the cut edge. On packaging with full-coverage print, that sliver ruins the premium impression.
Safe Zone: Keep Critical Elements 5mm In
Logos, text, barcodes, and other must-not-cut elements should sit at least 5mm inside the trim line. This margin protects against both cutting variation and post-cut handling damage. Nothing ruins a packaging run faster than a barcode sliced in half by the die.
Vector Files, Always
Supply dielines and cut paths as vector data — Adobe Illustrator (.ai), EPS, or PDF with editable paths preserved. Raster images cannot define cutting paths accurately. The printer’s CAD system reads vector paths to generate the laser-cutting program for die fabrication. If your dieline is a flattened JPEG, someone has to redraw it — and that costs time and money.
Color-Code Your Lines
Follow the industry convention: black solid stroke for cut lines, red dashed for crease lines, green for bleed boundary, blue dotted for perforations. Place these on a separate, clearly named layer (“Dieline” or “CutContour”). This separation lets the printer isolate cut data from print artwork without confusion.
Avoid Overly Thin Elements
Design rules that are thinner than 0.5mm in the final printed piece may not survive the die. The cutting rule itself is typically 0.71mm (2-point) thick. Any design element narrower than the cutting rule risks being crushed or torn during the cut. This is especially important for intricate lace-pattern edges or delicate filigree designs. Test a physical sample if your design pushes these limits.
Account for Material Thickness in Folds
When a 400gsm board folds over itself, the outer panel needs to be slightly wider than the inner panel to close flat. This is called creep or fold allowance. For packaging with multiple fold panels, each successive panel should increase by the material thickness. Your dieline software should calculate this automatically, but verify the settings before sending files to production.
Frequently Asked Questions
How much does a custom die cost?
A standard steel-rule flatbed die for a simple carton shape costs between $200 and $600. Complex shapes with many internal cutouts, tight-radius curves, or multiple crease lines run $800 to $2,500. Solid rotary dies start around $1,500 for simple label shapes and climb to $5,000+ for intricate packaging dies. The price depends on die size, complexity, and the number of cutting rules. Ask your printer for a tooling quote before committing to a design.
What is the minimum order quantity for die-cut printing?
There is no universal minimum — it depends on the die type and the printer’s setup. Many commercial printers accept orders as low as 500 units for flatbed die-cut jobs. For laser-cut work, the minimum can be a single piece. However, the tooling cost is fixed regardless of quantity, so the per-unit economics improve dramatically as volume increases. Below 500 units, digital flatbed or laser cutting without a physical die is usually more cost-effective.
Can I reuse a die for future print runs?
Yes — and that is one of the biggest advantages of die cutting. A well-maintained steel-rule die can sit in storage for years and perform identically on the next production run. Printers store customer dies as part of their tooling library. Before reusing a stored die, the printer inspects it for rust, rule shift, and rubber degradation. Rotary dies have an even longer shelf life because hardened steel does not warp or degrade in storage.
What file formats do printers need for die-cut projects?
Vector formats: Adobe Illustrator (.ai), EPS, or print-ready PDF with the dieline on a separate named layer. Raster artwork (photos, textures) should be embedded at 300dpi at final print size. Always include a low-resolution JPG mockup showing the intended finished look so the prepress team has a visual reference. Do not flatten the dieline into the artwork — the two must remain separate for production.
Does die cutting work with digital printing?
Yes. Most modern print workflows combine digital printing with die cutting seamlessly. Digitally printed sheets are registered to the die using optical marks printed along the sheet edge. The die-cutting press reads these marks and adjusts position automatically. This digital-to-die workflow enables variable-data printing combined with consistent die-cut finishing — a powerful combination for personalized packaging and limited-edition runs.
What materials cannot be die-cut with steel-rule dies?
Very hard or abrasive materials — glass, stone, ceramic, hardened steel, thick aluminum — are unsuitable for steel-rule dies. These materials either shatter under pressure or destroy the cutting edge within a few impressions. For these substrates, laser cutting, waterjet cutting, or CNC routing are the appropriate alternatives. Extremely soft or stretchy materials like silicone rubber and some foams also present challenges because they deform under the die rather than cutting cleanly.
Making Die Cutting Work for Your Next Project
Die cutting is not a black-box technology reserved for massive brands with unlimited packaging budgets. It is a practical, cost-effective production method that pays for itself at surprisingly modest volumes. The key is matching the die type to your run size, preparing artwork that respects production tolerances, and choosing a printing partner who knows the difference between a good cut and a great one.
At EcoPrinting , we handle die-cutting projects from prototype to full production across paper, cardstock, corrugated board, and plastic substrates. Our in-house die fabrication shop eliminates the back-and-forth with third-party tooling vendors — you get faster turnaround and a single point of accountability for the entire job. Whether you need 500 shaped greeting cards or 100,000 die-cut folding cartons, we can walk you through the process and provide a transparent quote before you commit.
Ready to see what die cutting can do for your product? Contact us for a free consultation and a physical die-cut sample shipped to your office. Hold the quality in your hands before you place a production order. That sample will tell you more about our work than any website ever could.